

Add that source addon is a very handy kodi addon that provide installation links allowing you to easily add multiple repositories to your media center in just few clicks for your longstanding entertainment.
Add that source addon is hosted in the Dabutcher Repository and fully compatible with kodi 18 leia and 19 matrix
Add that source addon comes fully packed with a big list of the most popular and useful kodi repositories that you can install in a matter of second without the need to manually type the media source URL every time you want to install a repo. Simpy click on the repository you want to install and Add that source will take it from here.
Some of the repositories within Add That Source include Venom, Slamious, DejaVu, Narcacist, Magnetic, DaButcher, Octopus, and others.
How to install Add That Source addon on Kodi
In this comprehensive guide, we explain how to install Add That Source addon and set it up completely. It was realized on Kodi 19 Matrix, the latest stable version of Kodi, and applies to all compatible devices including Amazon Firestick, Fire TV, Mi TV Stick, Android & IOS, Mac, Android TV, Android Boxes, etc…
- Name: Add That Source addon – Dabutcher Repository
- Source: http://dabutcher.org/repo
- Compatibility: Kodi 18 leia / 19.0 Matrix
Enable installation from unknown sources
The most interesting Kodi Addons are included in unofficial repositories. Add That Source addon can be found in the Dabutcher Repository which is a third-party source. So, the first thing you have to do is enable installation from unknown sources. If not already done, just follow these steps
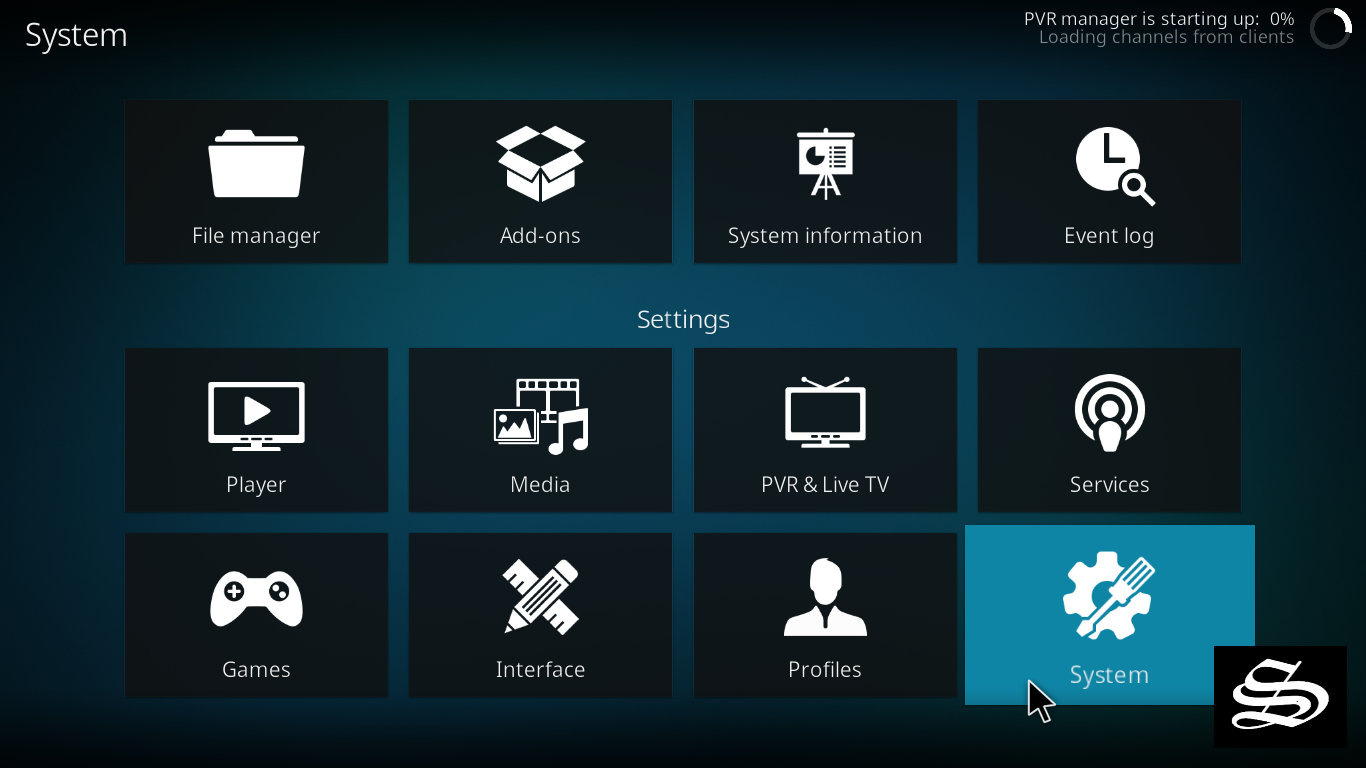
Launch Kodi and click on the “Settings” Icon.

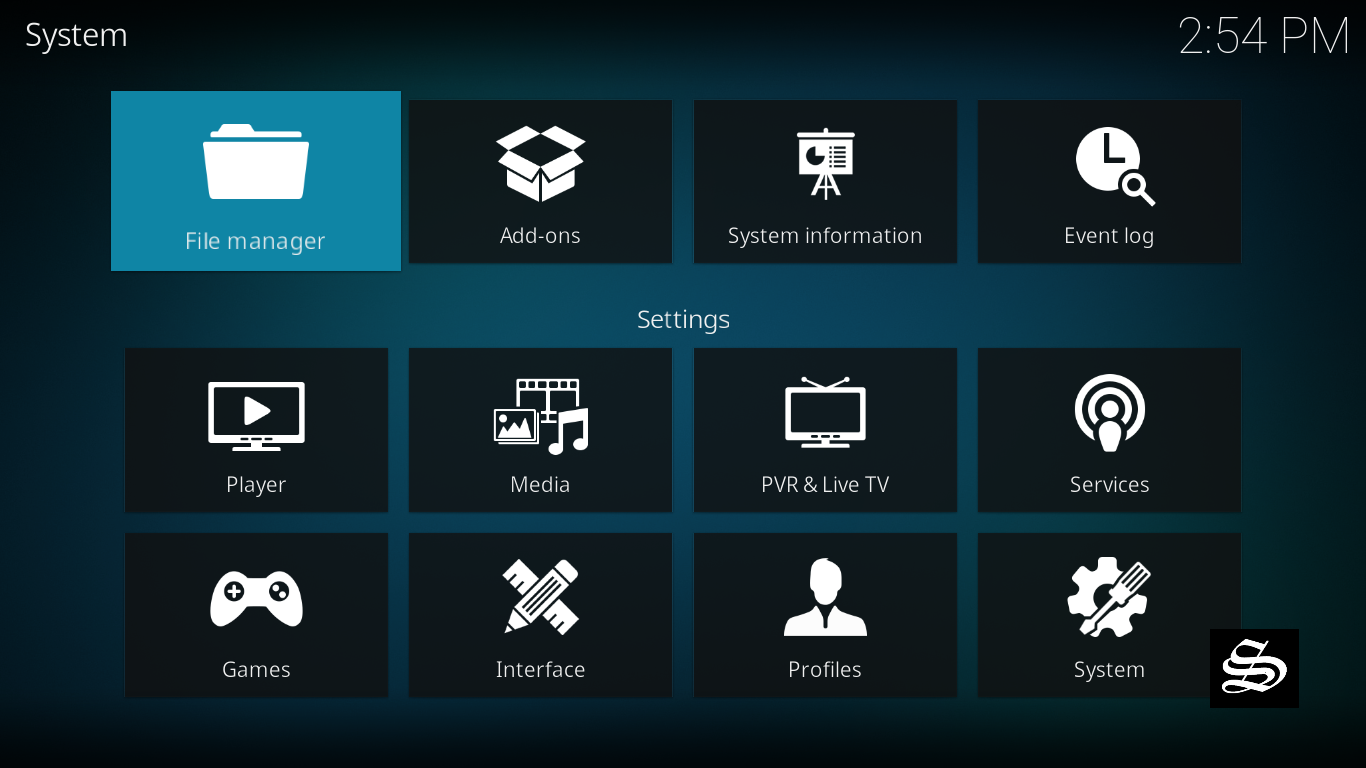
On the next page, click on “System” as shown in the image below.
In the “Addons” tab of the left panel, make sure that the ” Unknown sources ” option is activated.
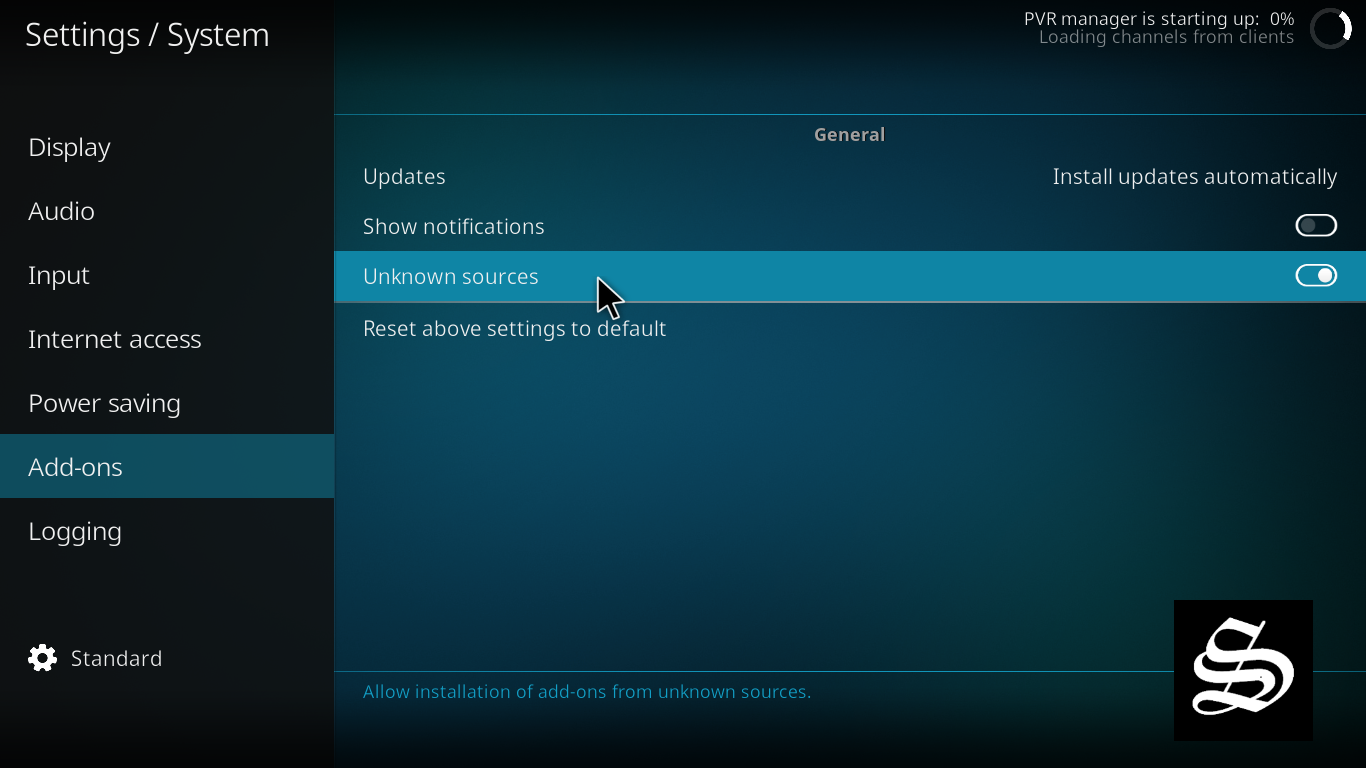
The option is disabled by default for privacy and security reasons, but you must enable it before you can install add-ons from outside the official Kodi repository.
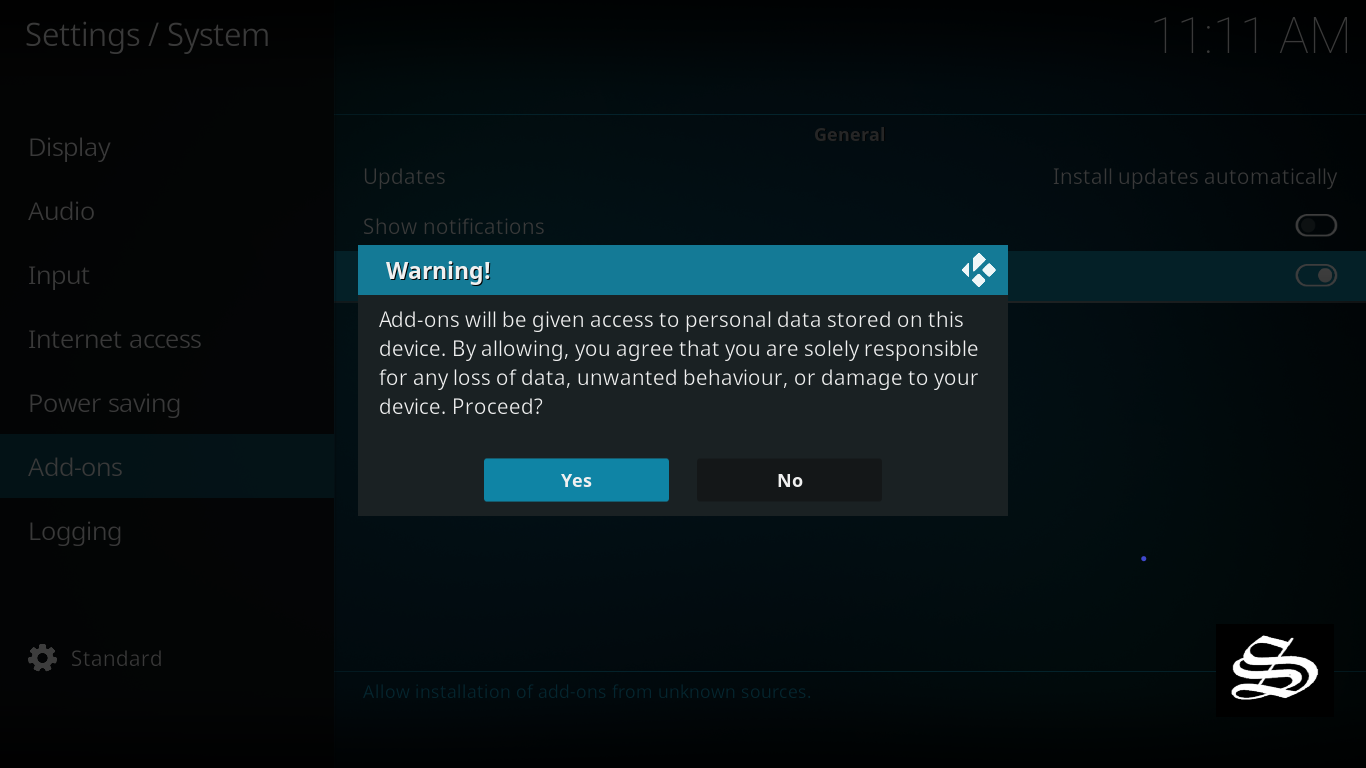
Upon this warning window, click Yes
Install Dabutcher Repository
Here’s a step-by-step guide on how to Install Dabutcher Repository.
To do so, follow these steps:
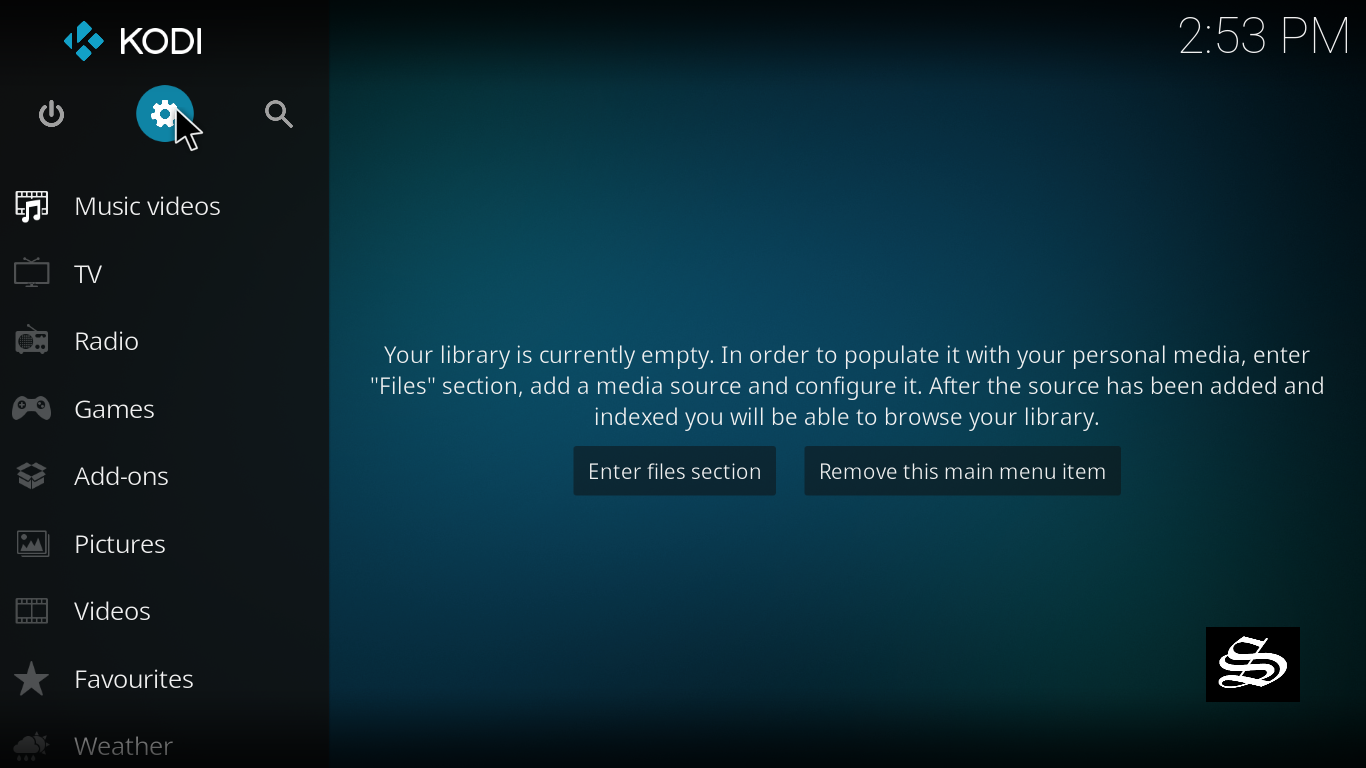
Launch Kodi and click on the “Settings” Icon.
From the available options, select «File manager»
Then select «Add source»

Double click «<None>»
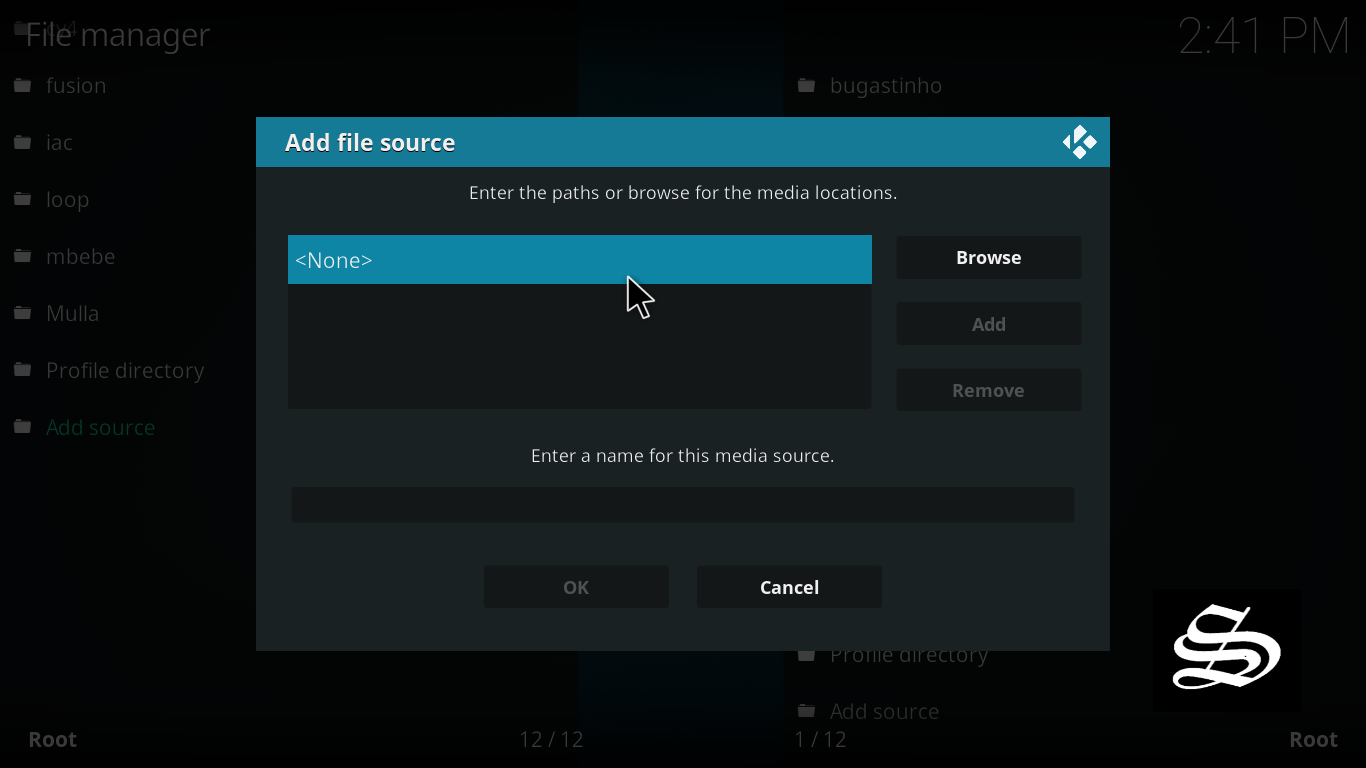
Enter this link: http://dabutcher.org/repo in the box as your media source. Be sure to type this exactly as provided. Click OK

You need to enter a name for this source, type ”dabutcher“ and press “Ok“.

Again click OK

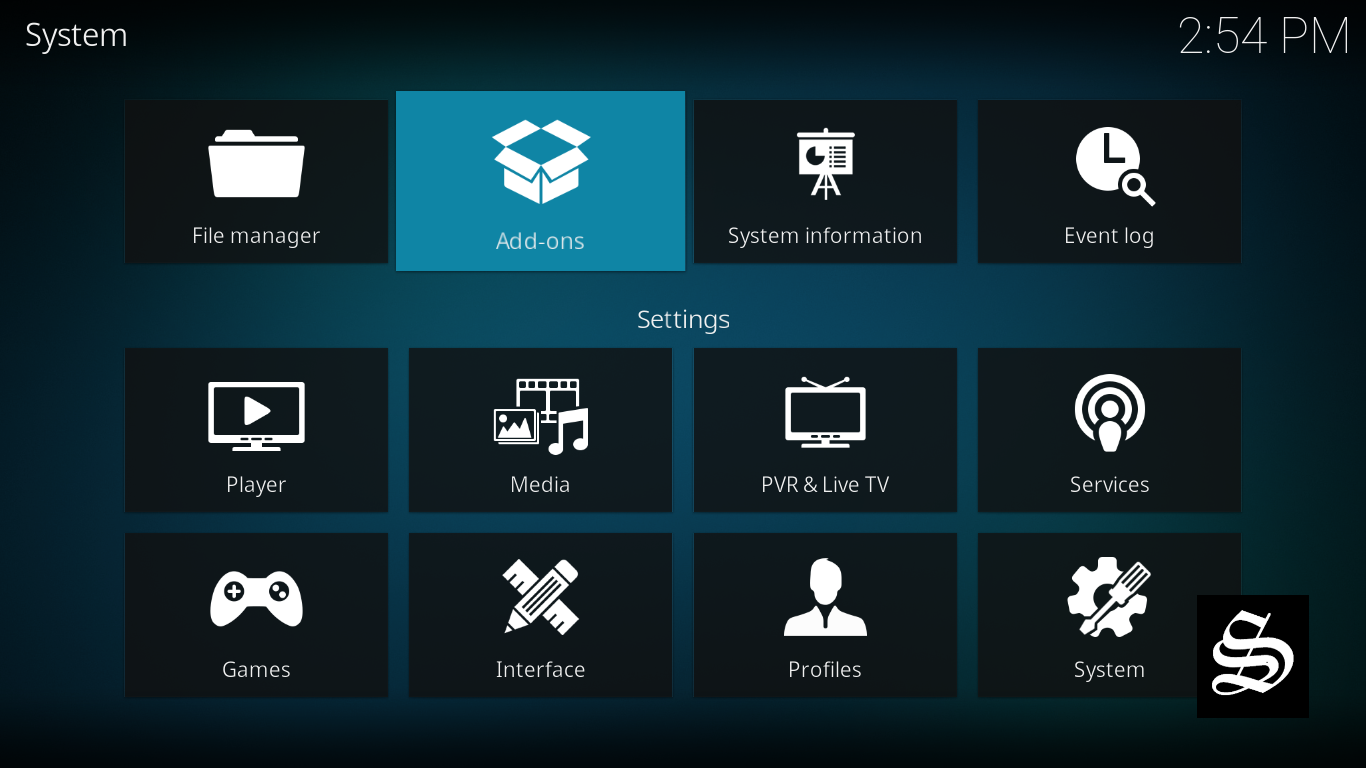
Return to the System home screen, and click on the Add-ons browser tab
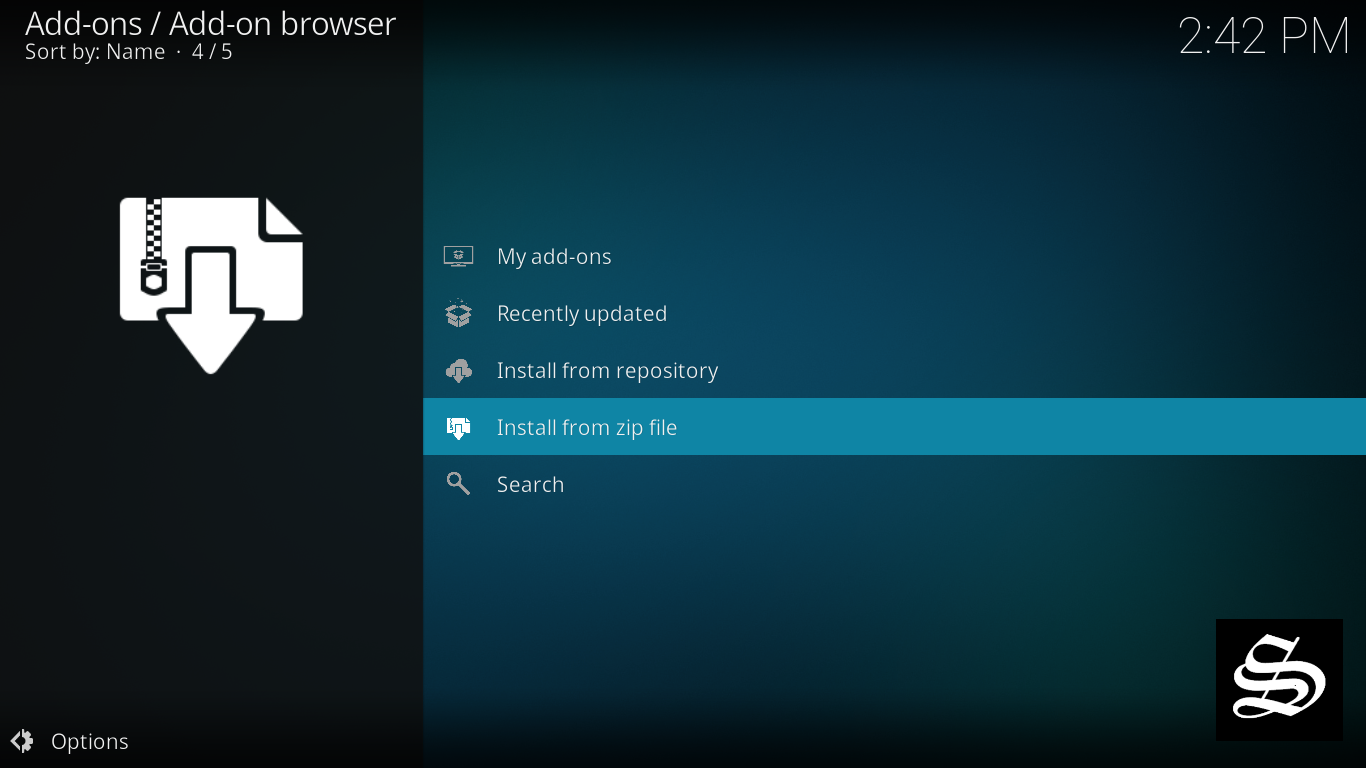
Select “Install from zip file“
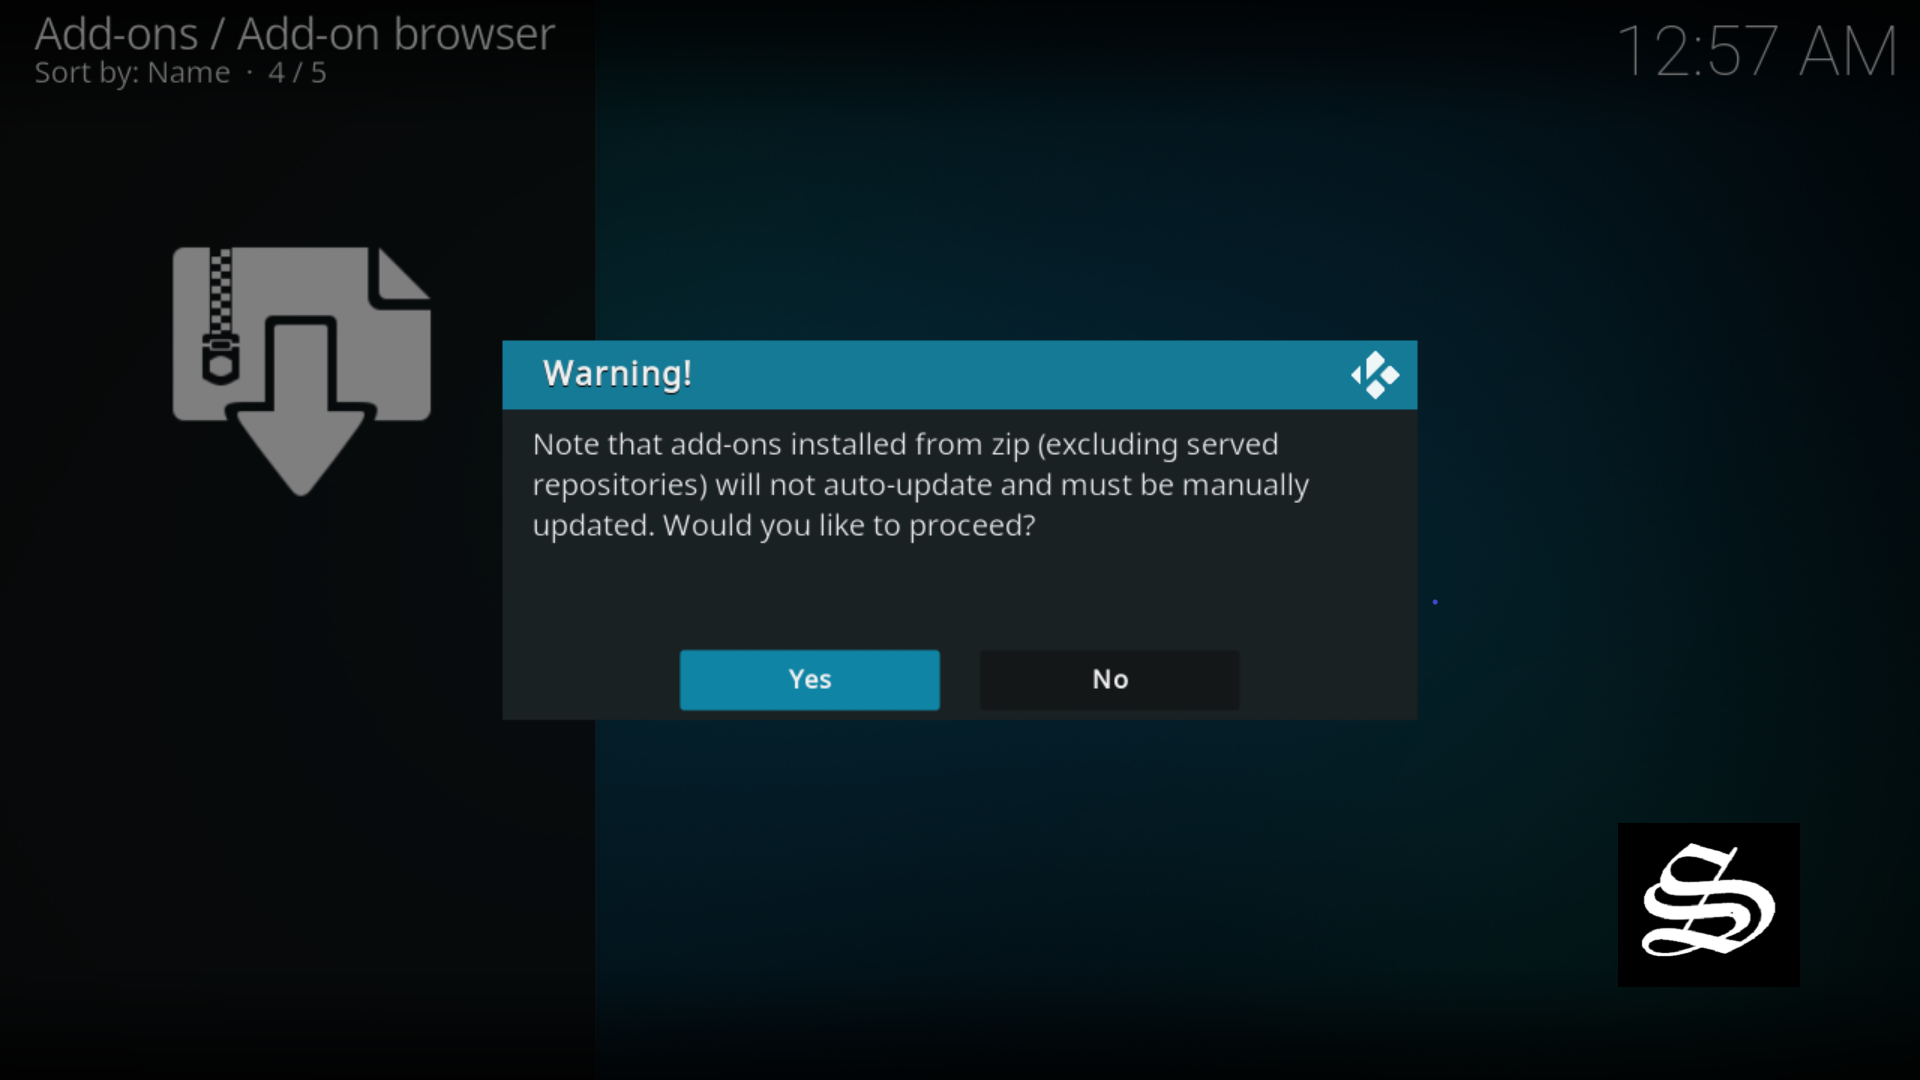
A short notification will popup to warn you that add-ons installed from zip ( excluding served repositories) will not be auto-update and must be manually updated. Click Yes to proceed.
Now find the repository you named “dabutcher”

Select repository.dab-1.3.zip which is the latest version of the repo

In a few seconds, you will be notified that Dabutcher Repository installed.

And this has been all regarding the repository installation. It is a valid process for any third-party repository.
Install Add That Source addon on Kodi
Now that you have Dabutcher Repository on your system, you need to install Add That Source Addon.
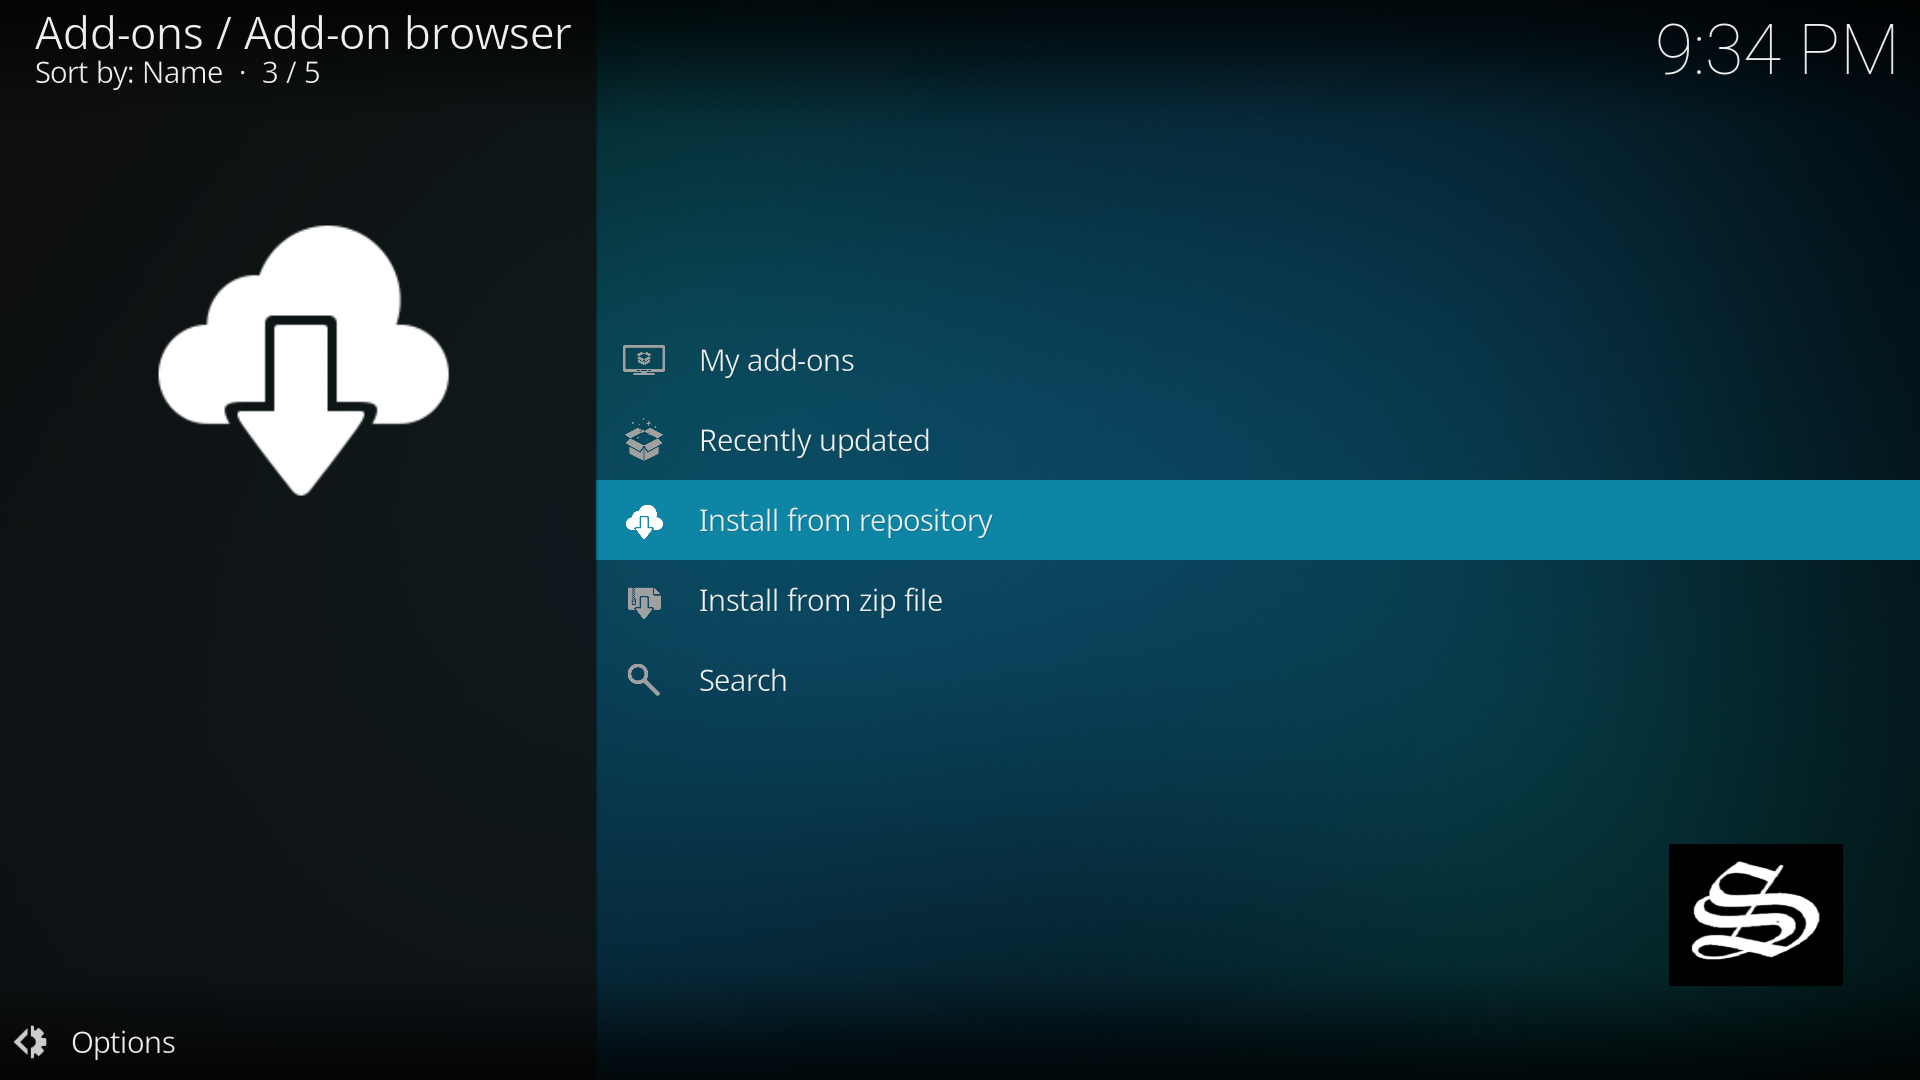
Go to Install from repository
Select Dabutcher Repository

Then Program add-ons

Select Add That Source

Click Install

Wait until the notification appears that the Kodi addon was installed successfully

Now go back to the Kodi home screen, find the Add-ons tab on the left, Add That Source Addon should appear under the Program add-ons category.

On the main screen you will find a very simple UI with the most popular kodi repositories that this addon contains and ready to install in just few clicks.

And with this, Add That Source addon will be installed on kodi and ready to use
How to install addons using Add That Source Addon
Now we have come to the most important stage of the process. The following lines will walk you through the steps to follow to install any repo or addon using Add That Source addon.
For the sake of this guide, we are going to install one of the most popular all-in-one addon for Movies, TV Shows, Sports, and more. It is the Crew addon
Say that the Crew addon is located in the Crew Repo. This is the repo we are going to install first.
Note: if you want to install a different addon, just pick up the repo that hosts it from the list available on Add That Source.
Here we go…
Open Add That Source addon

Browse the list of repos available and select the Crew repo

Now select the repo URL as shown below and click OK

You need to provide a name for your media source, type Crew and click OK

At this stage, your media center needs to restart, click OK to proceed.

On Kodi home screen, press the power button on the up left to exit

Select Exit

Launch Kodi again and select the Settings Icon ( gear icon)

Now access the Add-ons browser tab

Select Install from zip file

Upon this warning window, click Yes

Now select the repo you chose before, in our case it is Crew

Select repository.thecrew-xxx.zip and click OK

Wait a few seconds till the installation finishes

Now select Install from repository

Select The Crew Repo

Choose Video Add-ons

Select The Crew

Click Install

Click OK to install the necessary addons and dependencies

Wait a few seconds till The Crew addons is successfully installed.

At this stage, The Crew addon would be installed and ready to use. Go back to Kodi home screen. The Crew addon should appear under Video Add-ons within the Add-ons tab on the left-side menu.

And this was all regarding the installation of The Crew addon using Add That Source addon. As you have noticed, Add That Source is very helpful and easy to use. all it takes is just few clicks to add any repo you want and install any addon you desire.