


In this comprehensive guide, we’ll explore the features, installation process, and everything you need to know to make the most of The ReleaseHUB addon. Dive into the exciting world of the ReleaseHUB addon, a versatile Kodi extension that brings an extensive catalog of on-demand content to your fingertips.
The process was performed on the latest version of Kodi media center available to date and should work fine on older versions as well.
The steps described in this post apply to all devices and platforms that support Kodi such as Android, Android TV, Fire TV, Linux, Windows, and more.
If you are new to Kodi, this ultimate guide will help you get started and set up the media center correctly.
Also, although it is not necessary, we highly recommend updating Kodi to the latest version. Updates are always useful because they fix problems and make improvements.
What is ReleaseHUB addon?
After being shut down, The once popular ReleaseHUB addon is now back to work, and with a greater performance this time. Hosted in the Bugatsinho Repository, this addon is fully compatible with the latest Kodi version.
ReleaseHUB addon offers a comprehensive collection of movies and TV shows, ensuring that users have an extensive selection to choose from. It does not host any content on its servers, all the links are sourced from the most popular hosting websites
This addon goes beyond mainstream content and offers users access to diverse genres, including popular Hollywood blockbusters, independent films, classic movies, cult favorites, and a plethora of TV shows spanning different genres and eras.
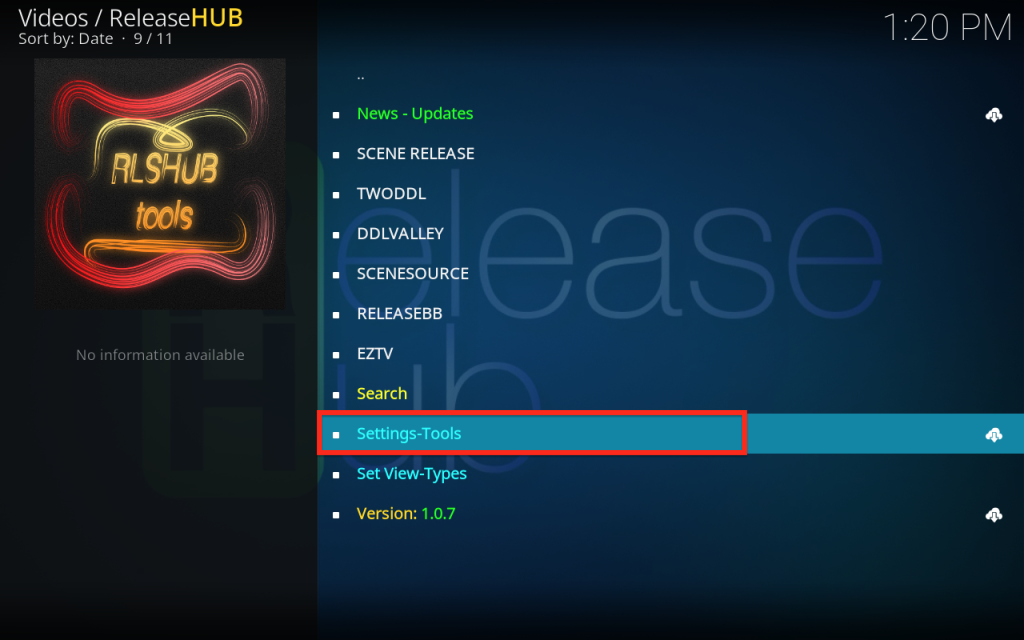
Sections on the main screen include: News-Updates, Scene Releases, TWODDL, DDLVALLEY, Scene Source, ReleaseHUB, EZTV, Search, Setting–Tools and Set View-Types.
ReleaseHUB addon requires a premium account subscription like Real-Debrid, All-debrid and Premiumize. Those services can be integrated directly from within the addon. We show you how to do that by the end of this guide.
With these services, you will be able to keep track of your watching history and get up to 4k quality streaming links for buffer-free streaming.
Is the ReleaseHUB addon safe and legal?
In terms of safety, The ReleaseHUB addon has been tested and proven to be malware-free. Besides, we have never come across any user reporting any safety issues while using this app.
The ReleaseHUB addon, like other addons for Kodi, should be used responsibly and in compliance with local laws and regulations. It is recommended to verify the legality of accessing adult content in your jurisdiction before using such addons.
Therefore, you should exercise caution when installing and using third-party addons, as they may pose risks and may not always provide reliable content. Consider using a VPN before streaming anything on Kodi to protect your online streaming activities and avoid copyright infringement issues.
With a good VPN you will prevent yourself from malware. It masks your original IP and assigns you a new one to maintain anonymity while streaming. Our best recommendations are:
- NordVPN Review
- CyberGhost Review
- ExpressVPN Review
- Surfshark VPN Review
- PureVPN Review
- IPVanish VPN review
How to install The ReleaseHUB addon?
Now that you know what The ReleaseHUB addon is and how to protect yourself when using it, you may want to install it on your device and enjoy its content.
The installation process is straightforward, but it requires some steps to follow. Here are the steps to install The ReleaseHUB addon on your device:
- Enable unknown sources in Kodi settings
- Add a media source in Kodi file manager.
- Install the hosting repository from the source
- Install The ReleaseHUB addon from the repository.
For detailed instructions with screenshots, please keep reading
Enable installation from unknown sources
If you want to install third-party add-ons on Kodi, you need to enable unknown sources first. This is a security feature that prevents Kodi from installing add-ons that are not verified by the official Kodi repository.
However, many popular and useful add-ons are available from other sources, so you may want to enable this option if you trust the source of the add-on. If not already done, just follow these steps:
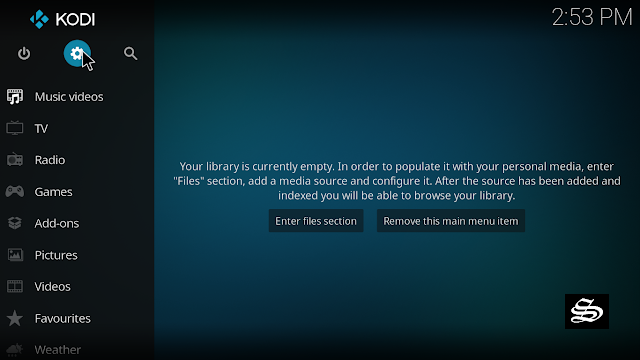
Launch Kodi and click on the gear icon on the top-left corner of the home screen. This will open the settings menu.

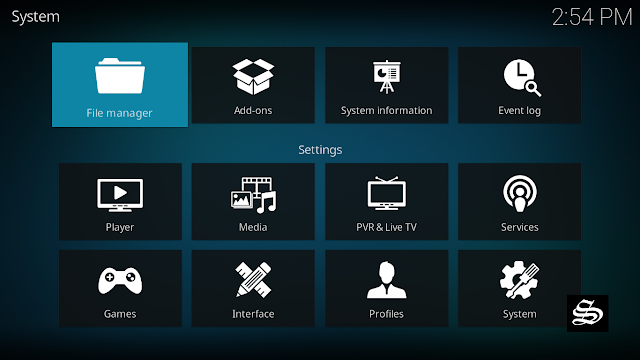
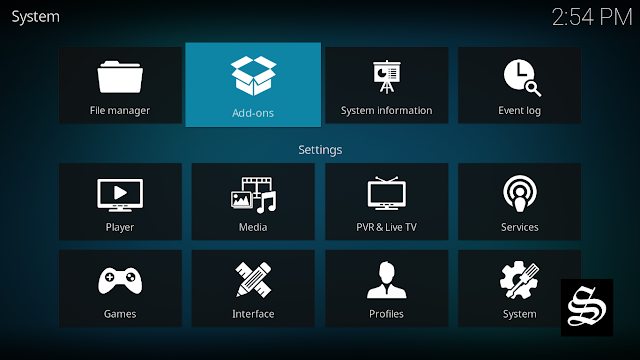
Click on System on the bottom-right corner of the settings menu. This will open the system settings menu.

From the left sidebar, select Add-ons. On the right side, you will see a toggle switch for Unknown Sources. Click on it to turn it on.

You will see a warning message that says “Add-ons will be given access to personal data stored on this device. By allowing, you agree that you are solely responsible for any loss of data, unwanted behavior, or damage to your device. Proceed?” Click Yes to confirm.

That’s it! You have successfully enabled unknown sources on Kodi. You can now install any add-on from any source that you want.
Install Bugatsinho Repository
With the unknown sources option enabled, Kodi is now ready to install any addon or repository, regardless of its source.
The ReleaseHUB addon is available in the Bugatsinho repository So, our next step will be to install the repository. For this, a media source needs to be added. We have already explained in our corresponding guide how to do this. Otherwise, follow the instructions below:
To do so, follow these steps:
Launch Kodi and click on the “Settings” Icon.
From the available options, select «File manager»
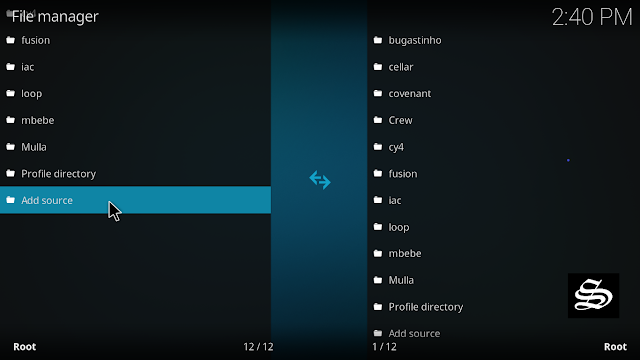
Then select «Add source»
Double click «<None>»
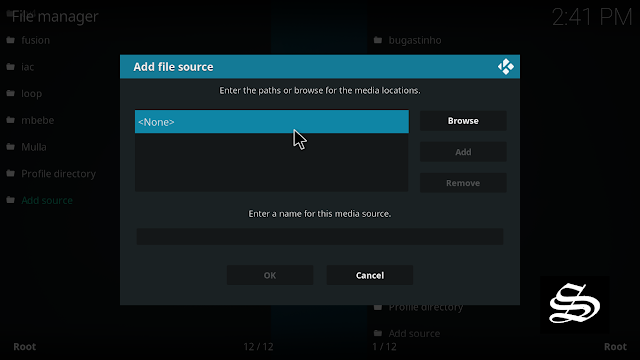
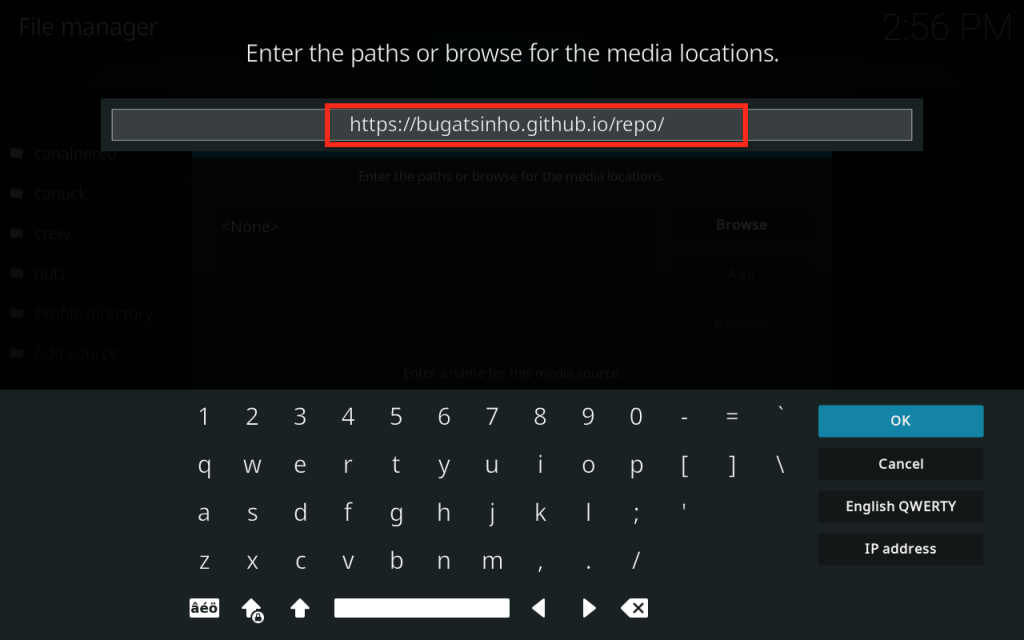
Enter this link: https://bugatsinho.github.io/repo/ in the box as your media source. Be sure to type this exactly as provided. Click OK
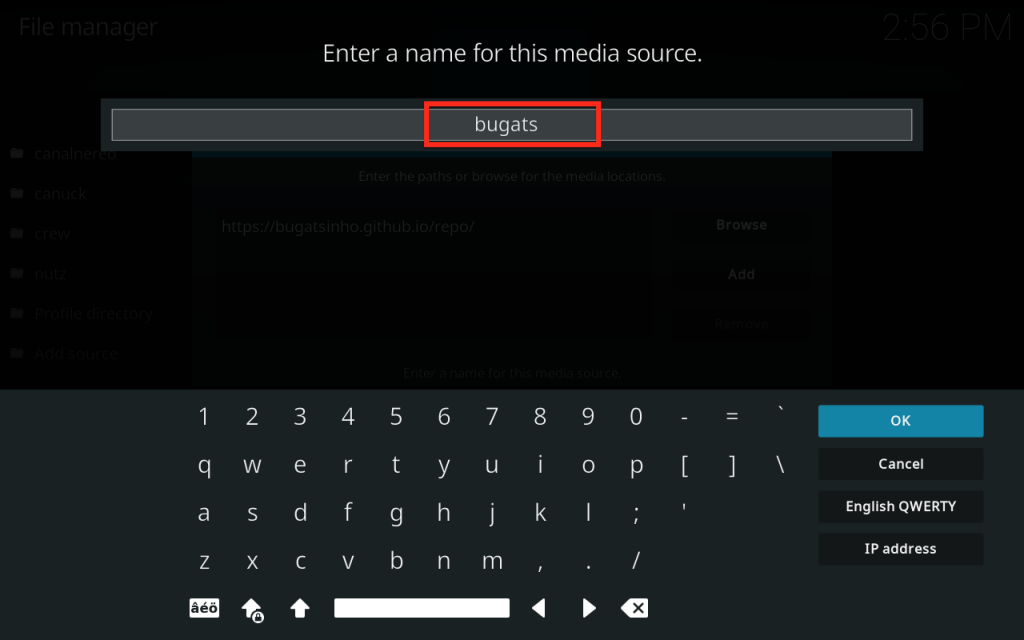
You need to enter a name for this source, type ” bugats” and press “Ok“.
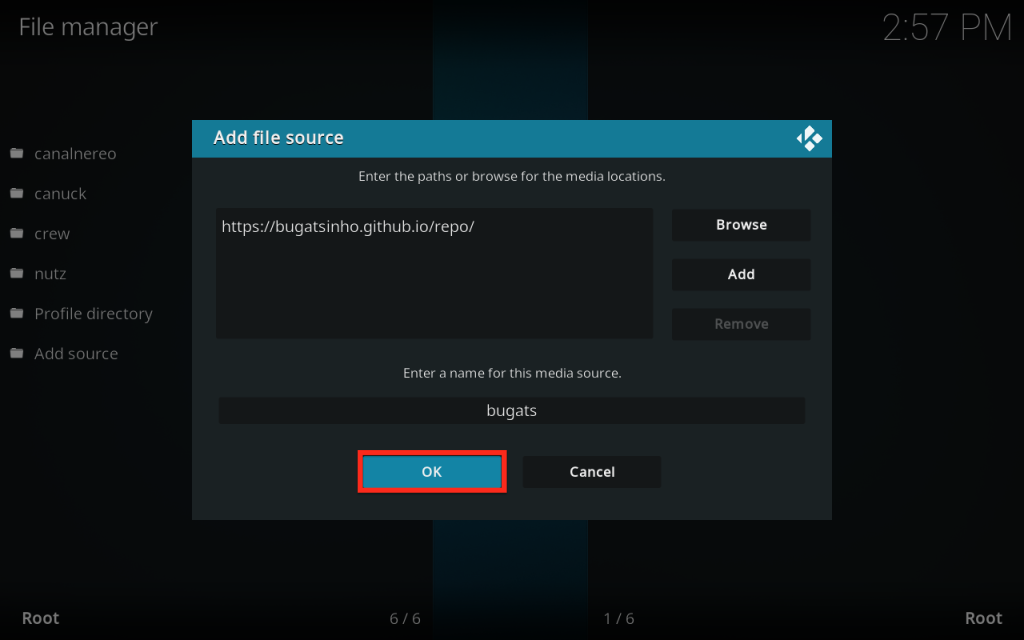
Again click OK
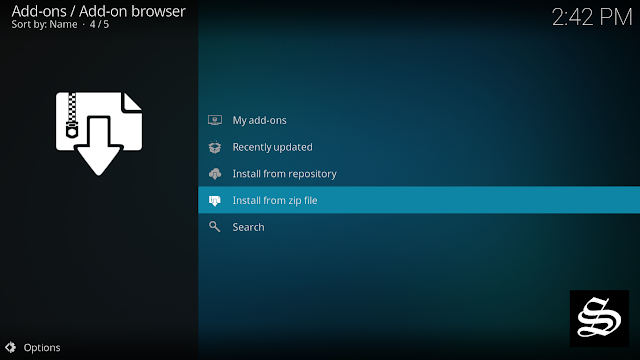
Return to the System home screen, and click the Add-ons Package Installer
Select “Install from zip file“
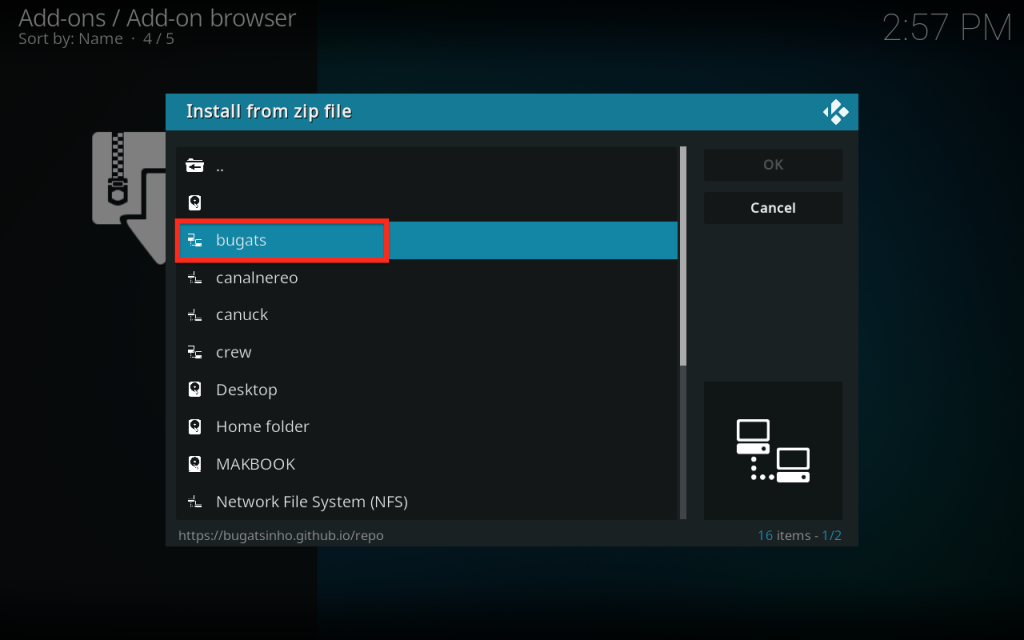
Now find the repository you named “bugats”
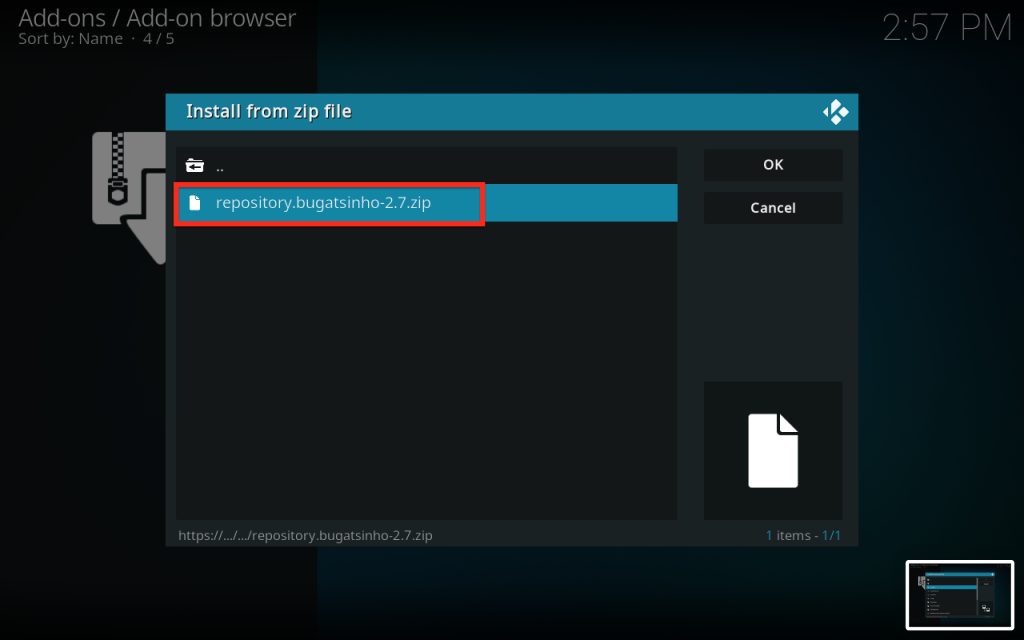
Select repository.bugatsinho-xxx.zip
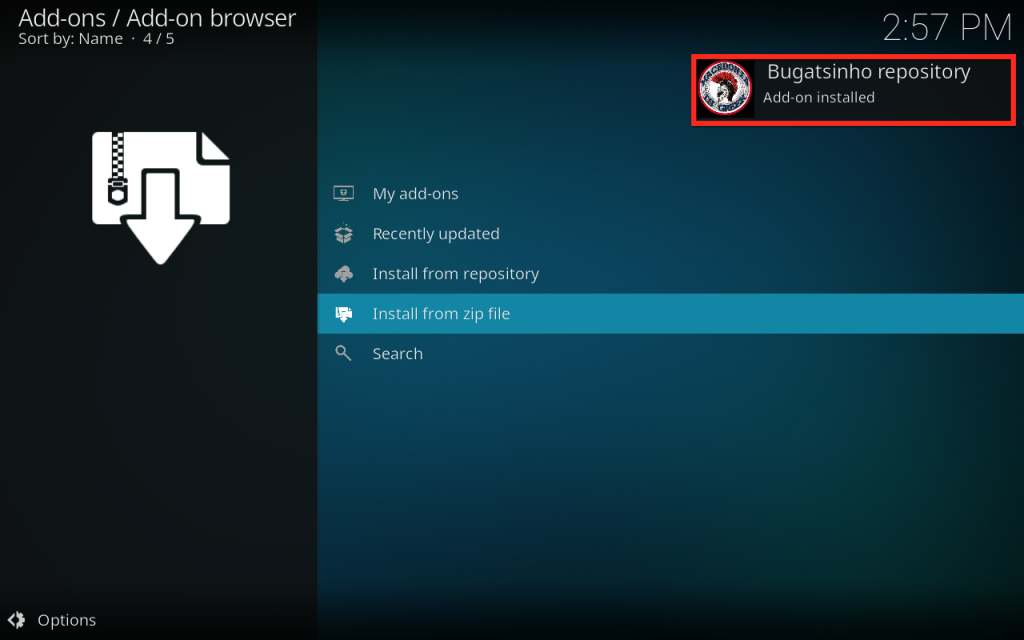
In a few seconds, you will be notified that Bugatsinho Repository installed.
And this has been all regarding the repository installation. It is a valid process for any third-party repository.
Install ReleaseHUB addon on Kodi
Now that you have the Repository on your system, you need to install The ReleaseHUB addon.
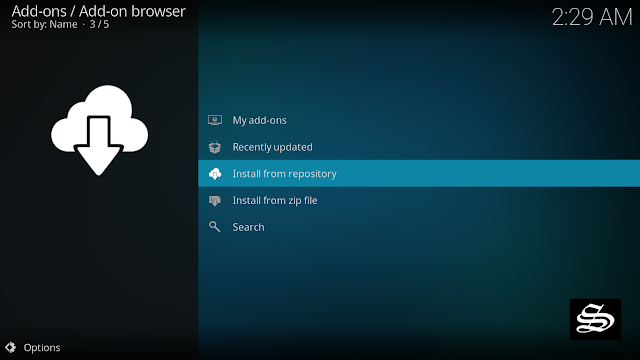
Go to Install from repository
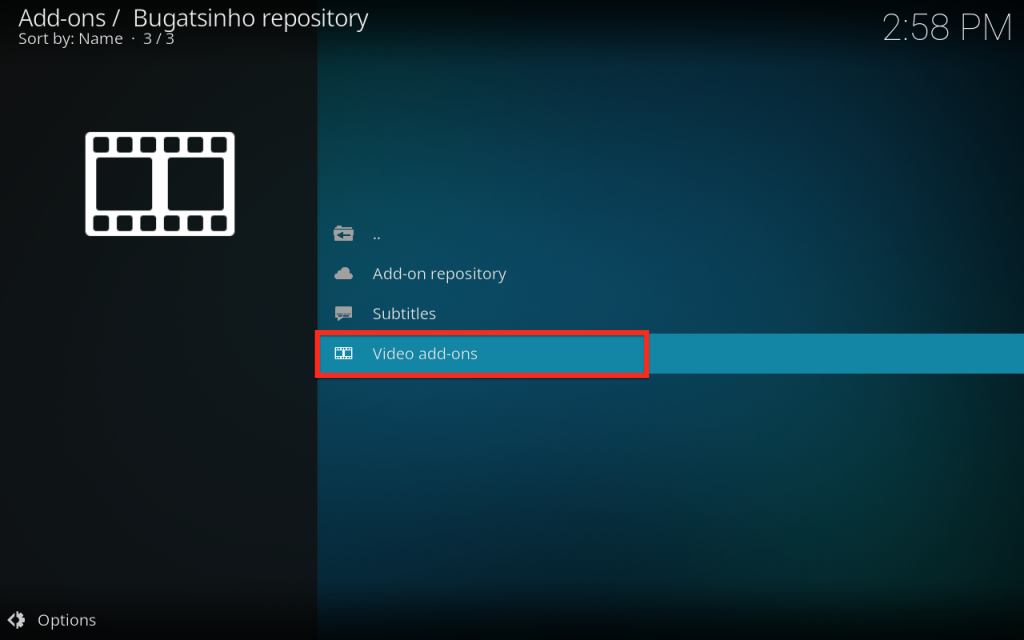
Select Bugatsinho Repository

Then Video add-ons
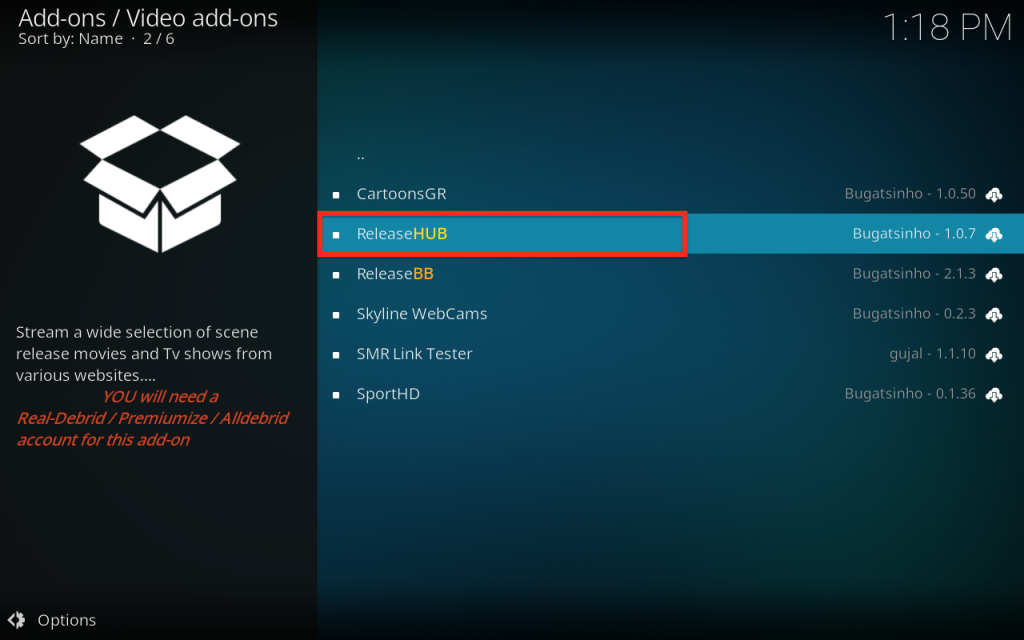
Select ReleaseHUB
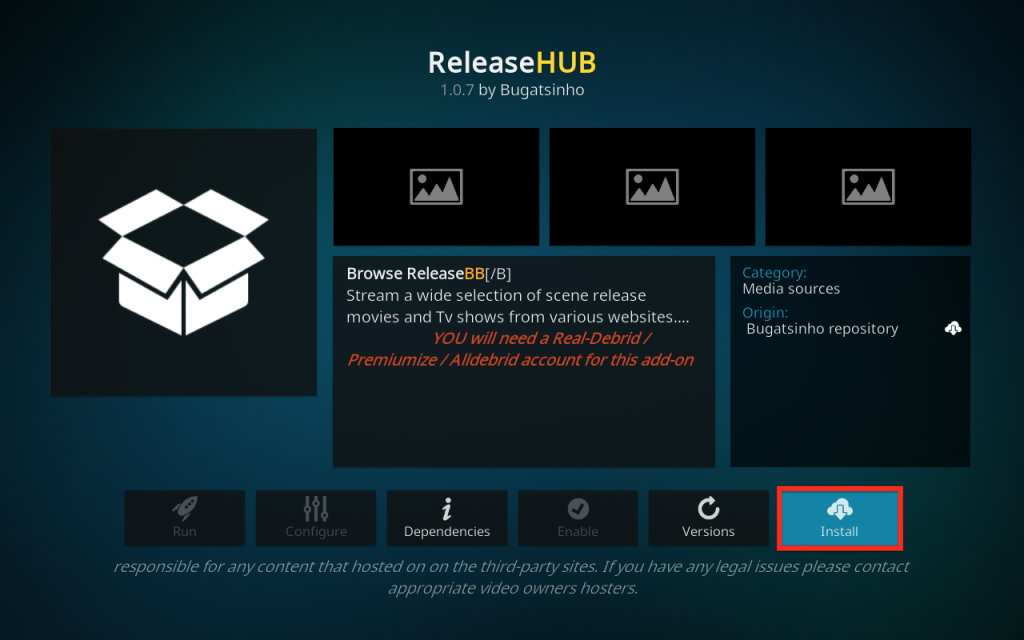
Click Install
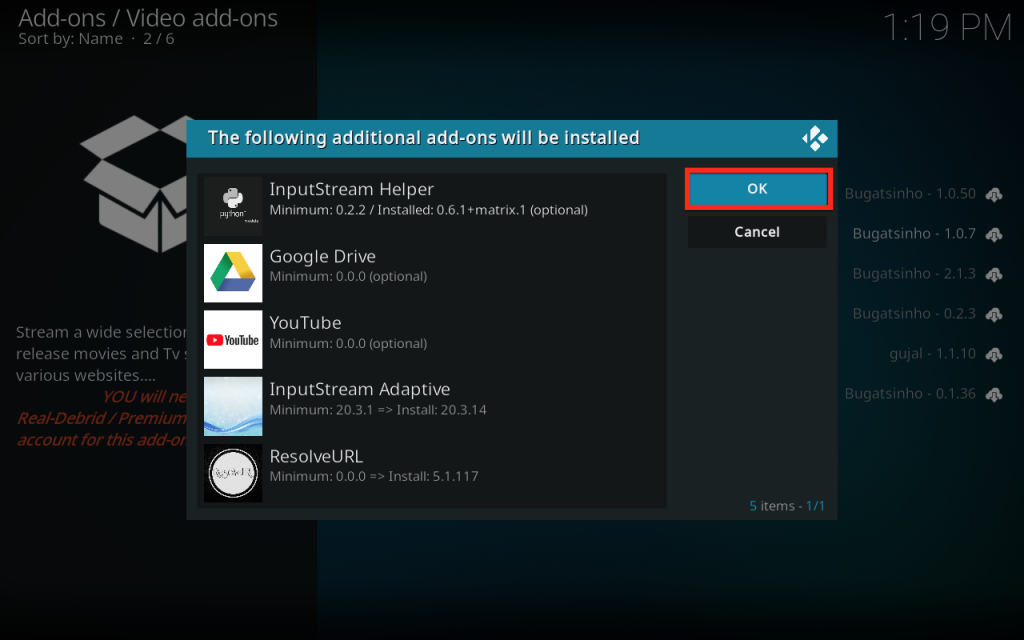
Click OK to install the necessary addons and dependencies
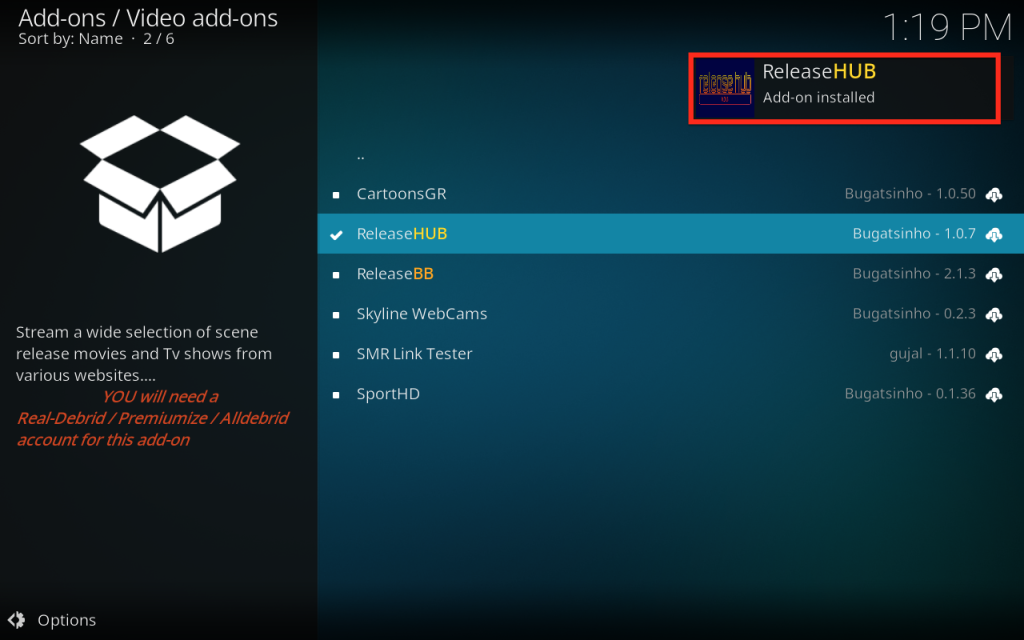
Wait until the notification appears that ReleaseHUB addon was installed successfully
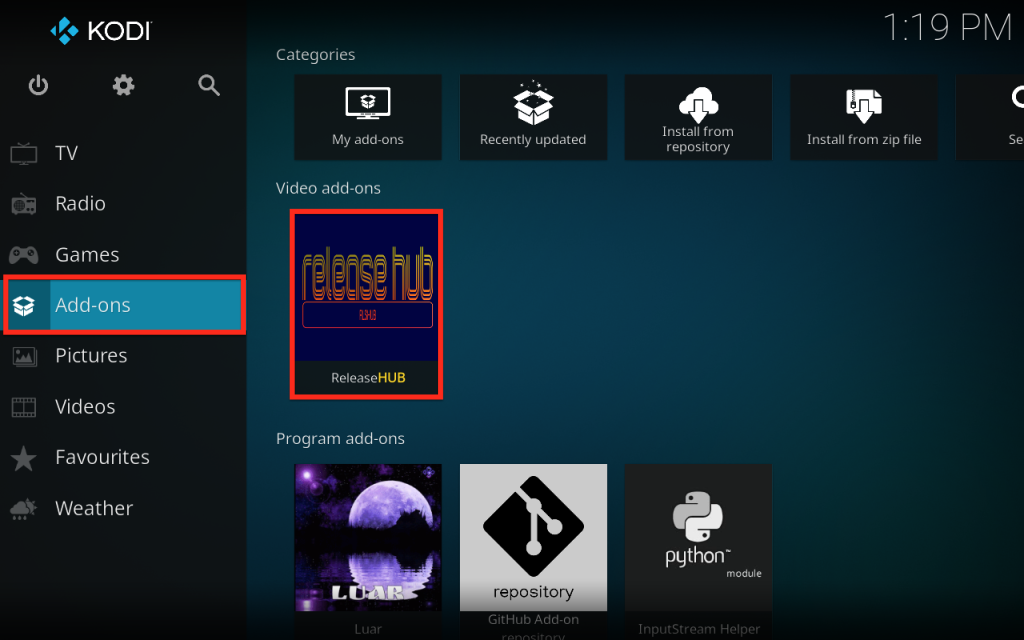
Now go back to the Kodi home screen, find the Add-ons tab on the left side menu, ReleaseHUB addon should appear under the Video add-ons category. Open it and enjoy a huge library of movies and TV shows.

This will help you easily navigate and decide what to watch. When you click on a link, it will start streaming at the maximum speed that your connection supports.
Setup Real Debrid in ReleaseHUB addon
As mentioned above, ReleaseHUB supports multiple premium services like Real-Debrid, All-Debrid and Premiumize. These services give you unrestricted access to several file hosters and can greatly improve the quality and quantity of available sources.
For the sake of this guide, we show how to set up Real-Debrid in ReleaseHUB addon.
Before starting, make sure you have created a Real Debrid account in case you don’t already have one.
Start ReleaseHUB addon
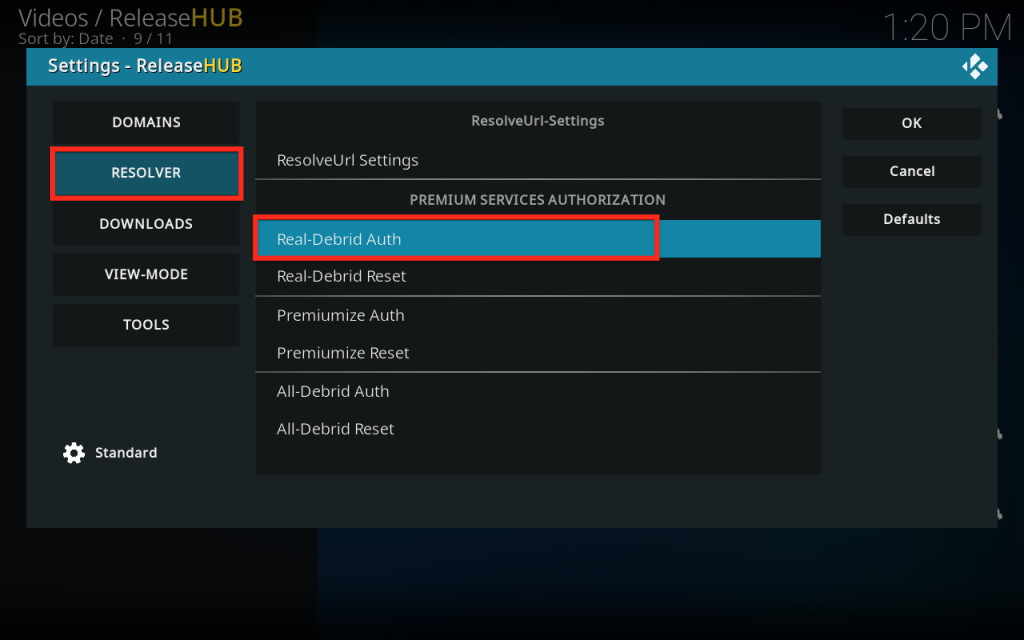
In the main menu, click Settings-Tools
Under the Resolver tab, press Real-Debrid Auth
Next, you will see a message showing an authorization code.
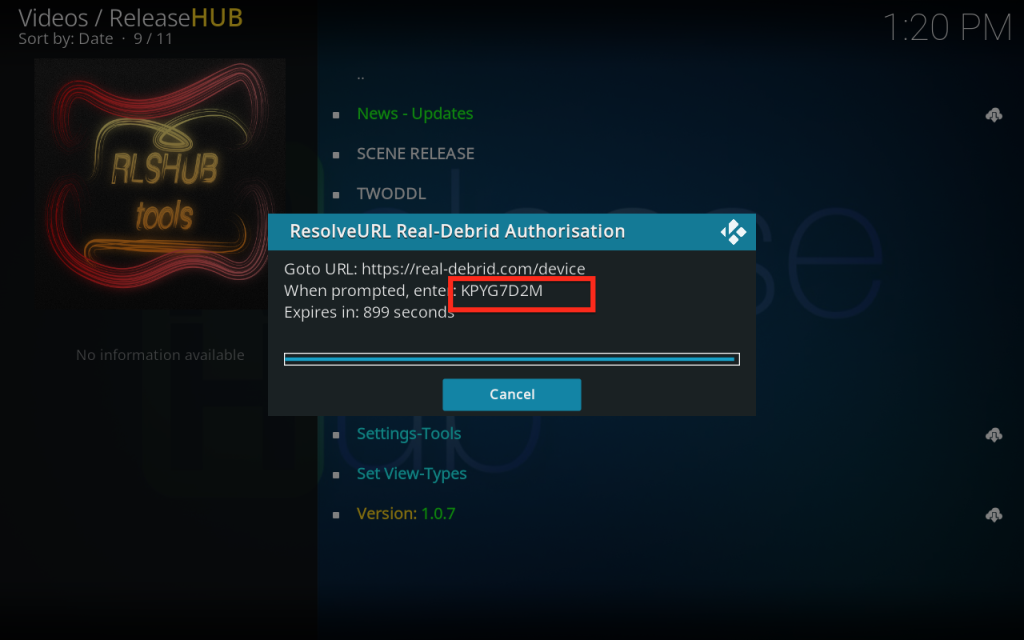
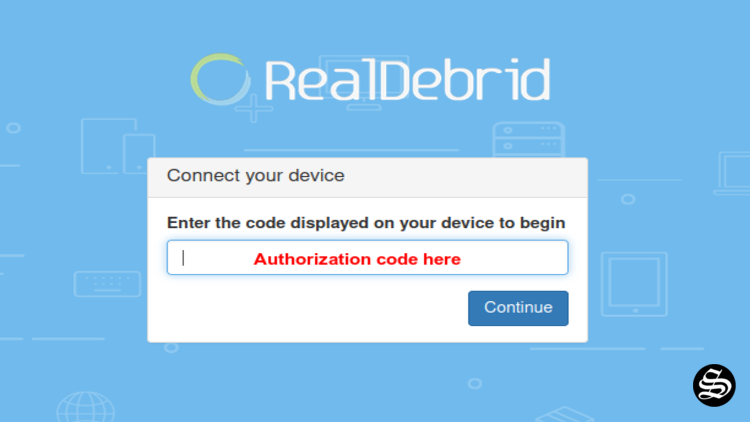
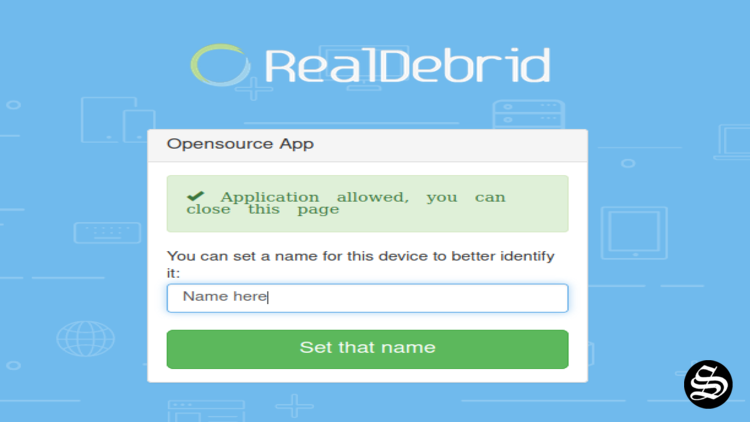
You must enter the given code in your Real Debrid account to authorize ReleaseHUB addon access. To do this, go to this URL, enter the code displayed on Kodi and click Continue.
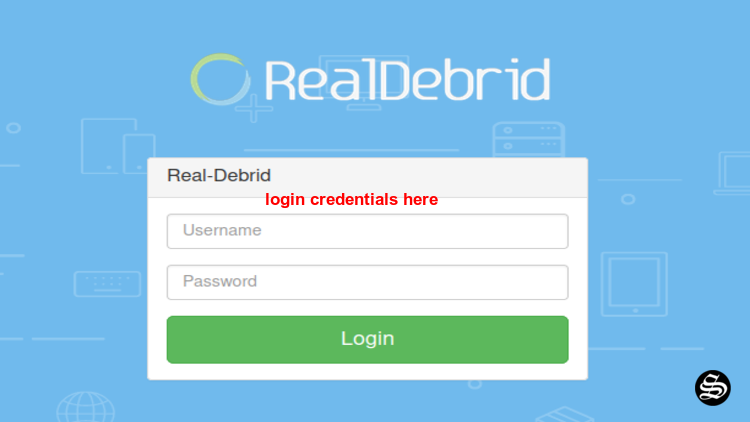
In case you have not accessed your Real Debrid account, you will be asked to enter your access credentials.
You may want to give a name to this new entry to easily identify it later
If everything goes well, you will see a confirmation message on Kodi indicating that the authentication in Real Debrid was successful.
And with this, Real-Debrid will be integrated with ReleaseHUB and the addon will be ready to use.
However, make sure to use a VPN to avoid any copyright infringements