


This guide with screenshots explains how to install Torque Lite addon to stream your favorite Motorsports and racing competitions – live and replays at no cost
The process was performed on the latest version of kodi media center available to date, and should work fine on older versions as well.
The steps described in this post apply to all devices and platforms that support Kodi such as Android, Android TV, Fire TV, Linux, Windows, and more.
If you are new to Kodi, this ultimate guide will help you get started and set up the media center correctly.
Also, although it is not necessary, we highly recommend updating Kodi to the latest version. Updates are always useful because they fix problems and make improvements.
What is Torque Lite addon for kodi?
Torque Lite Kodi addon is is one of the best kodi addons that allow users to stream all kinds of world Motorsports-related content on kodi – live and replays.
This is a third-party addon, which means it’s not hosted by the official kodi repository or supported by Kodi. Hosted in the Narcacist’s Wizard Repo,The Torque Lite sports addon is fully compatible with the latest Kodi version
With the Torque Lite Kodi addon you can watch live motorsport and replays of past races. Some of the racing series on offer include Formula 1, MotoGP, V8 Supercars, NASCAR, Rally and more. This addon is currently highly recommended for all motorsport fans.
Moreover, Torque Lite addon has a simple, minimal yet functional interface. Sections on the main screen include Live Zone, Supercars, Superbikes, Car Shows and Race Archive.
This sports kodi addon works by scraping sources from various websites that host live sports streams. These websites are not affiliated with the addon or its developer. The addon simply acts as an aggregator that collects and organizes the links for your convenience.
Thanks to its varied content, good quality playback and smooth navigation, Torque Lite addon is considered among the best kodi Sports addons for all types of media content.
How to install Torque Lite addon on kodi
Now that you know what Torque Lite addon is and how to protect yourself when using it, you may want to install it on your device and enjoy its content.
The installation process is straightforward, but it requires some steps to follow. Here are the steps to install Torque Lite Kodi addon on your device:
- Enable installation from unknown sources
- Install the hosting repository
- Install Torque Lite addon
For detailed instructions with screenshots, please keep reading
Enable installation from unknown sources.
If you want to install third-party add-ons on Kodi, you need to enable unknown sources first. This is a security feature that prevents Kodi from installing add-ons that are not verified by the official Kodi repository.
However, many popular and useful add-ons are available from other sources, so you may want to enable this option if you trust the source of the add-on. If not already done, just follow these steps:
Launch Kodi and click on the gear icon on the top-left corner of the home screen. This will open the settings menu.

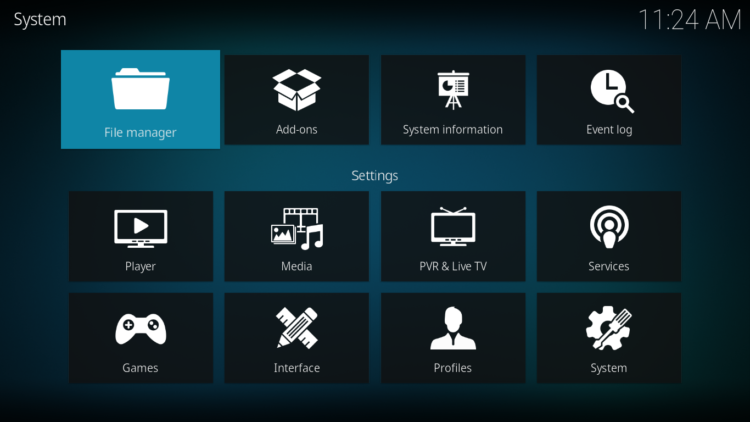
Click on System on the bottom-right corner of the settings menu. This will open the system settings menu.

From the left sidebar, select Add-ons. On the right side, you will see a toggle switch for Unknown Sources. Click on it to turn it on.

You will see a warning message that says “Add-ons will be given access to personal data stored on this device. By allowing, you agree that you are solely responsible for any loss of data, unwanted behavior, or damage to your device. Proceed?” Click Yes to confirm.

That’s it! You have successfully enabled unknown sources on Kodi. You can now install any add-on from any source that you want.
Install the hosting repository
With the unknown sources option enabled, Kodi is now ready to install any addon or repository, regardless of its source.
Torque Lite Kodi addon is available in The Narcacist’s Wizard repository So, our next step will be to install the repository. For this, a media source needs to be added. We have already explained in our corresponding guide how to do this. Otherwise, follow the instructions below:
- Launch Kodi and from the home screen, click on the gear icon to access the settings.
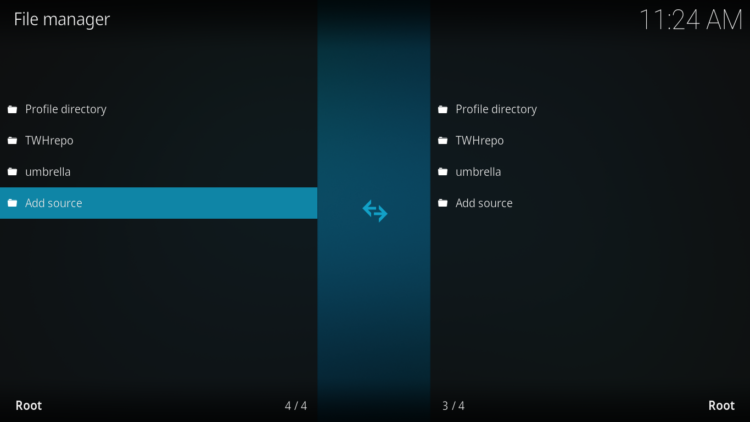
- Enter the File Manager
- Select Add Source
- Double click on “< None >”.
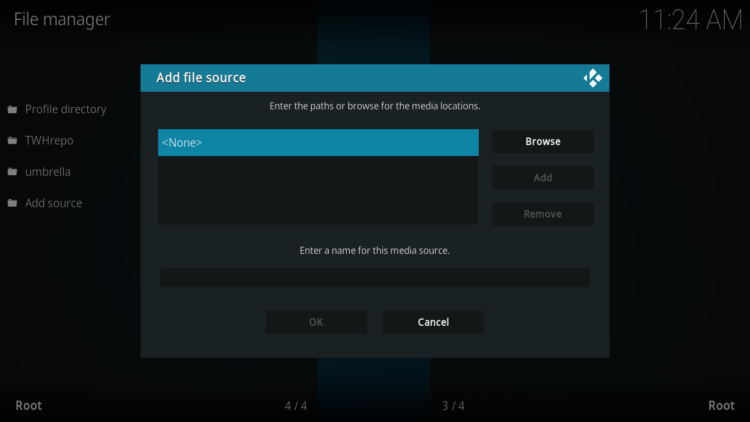
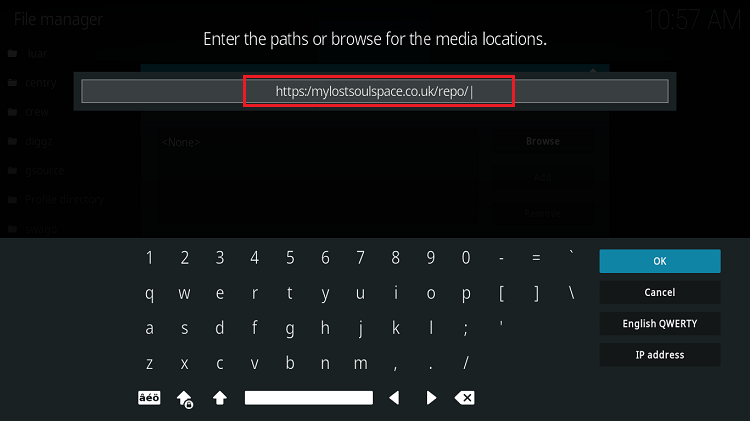
- In the URL bar, type the URL of the media source and press OK :
- https://mylostsoulspace.co.uk/repo
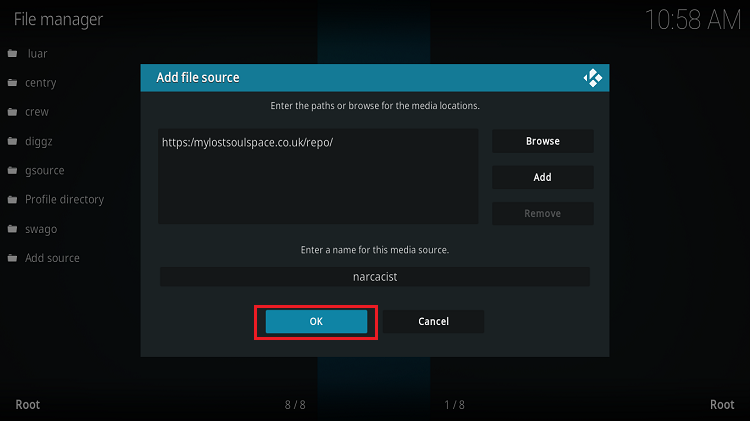
- Enter a name for this source so you can easily recognize it later, and press OK. In this case we put “narcacist“.
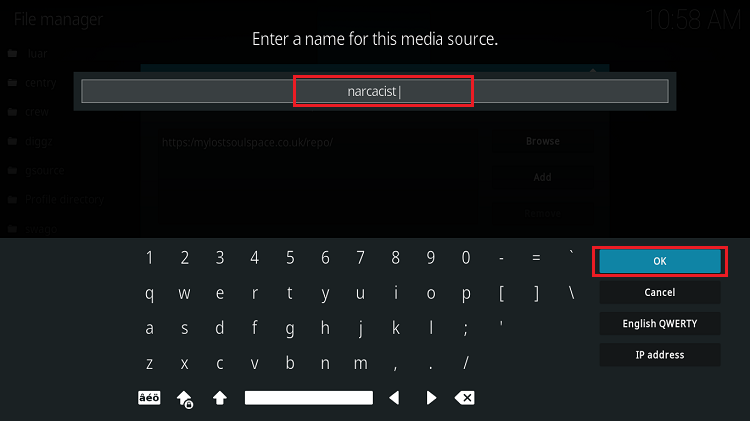
- Again, click OK to confirm
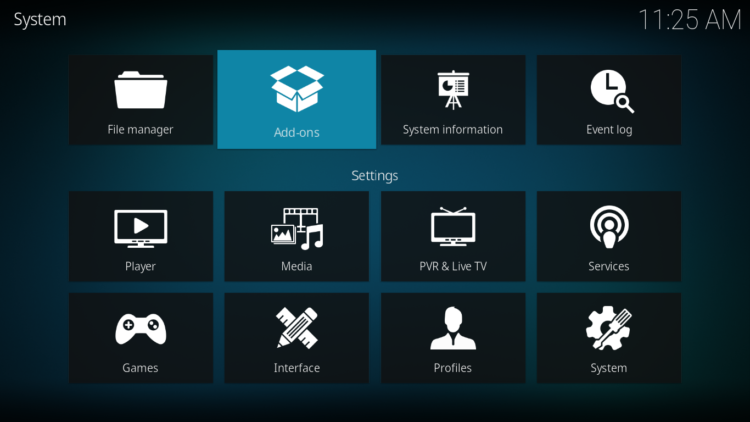
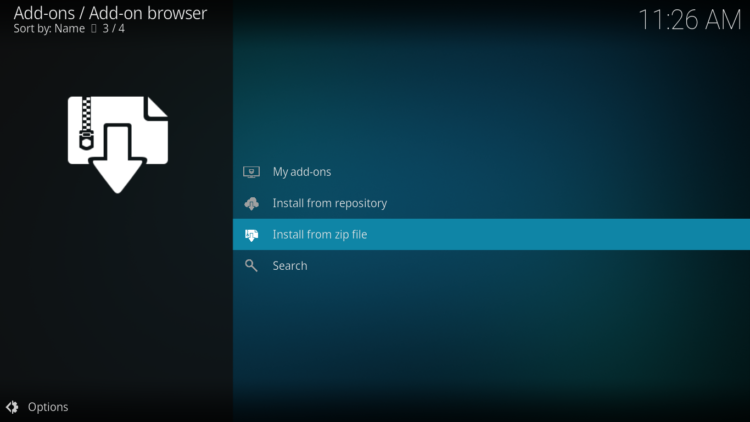
- Now, from the settings page, enter the Add-ons browser “Open box icon“.
- Select “Install from a Zip file“.
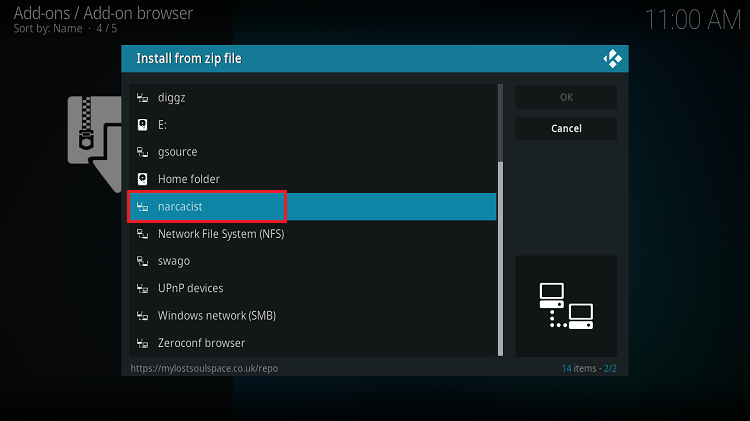
- Find the name of the source you just added in the previous step and click on it.
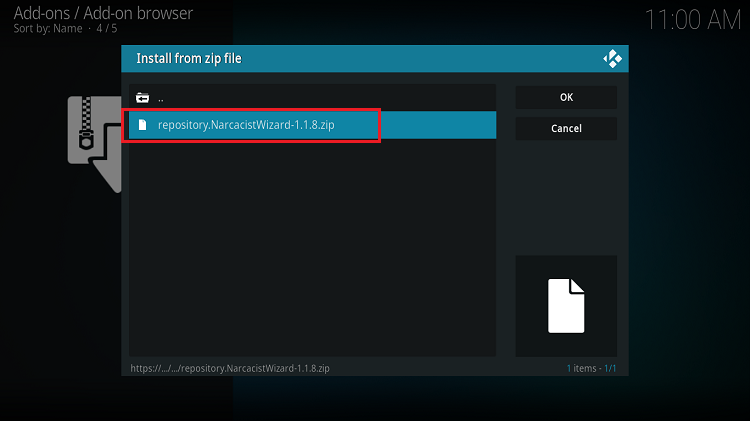
- Select “repository.NarcacistWizard-xxx.zip” and click on it.
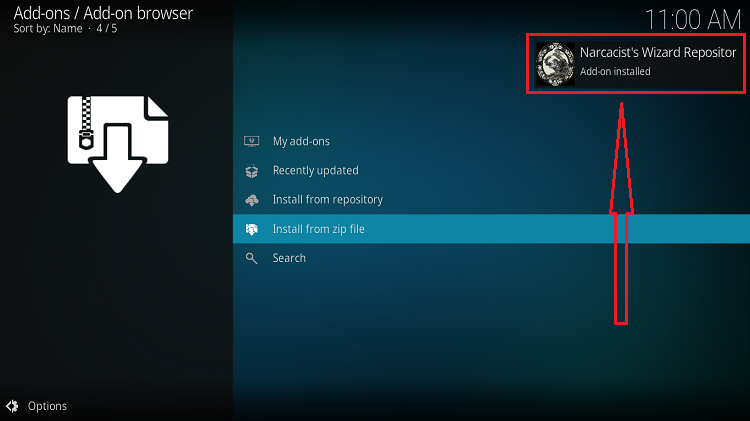
- Wait a few seconds until a popup message appears in the upper right corner telling you that the Repository is installed.
Install Torque Lite addon
After successfully installing Narcacist repository, we need to install Torque Lite Kodi addon:
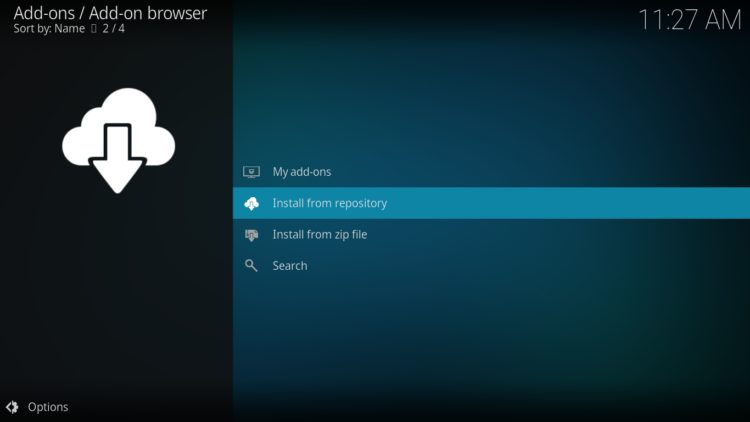
- Again, on the settings page, go to the Add-ons browser and select Install from a repository
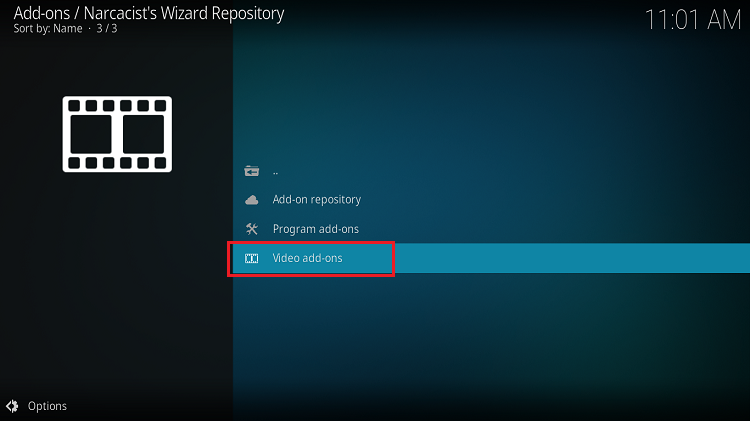
- Select The Narcacist Repository

- Then, Video Add-ons
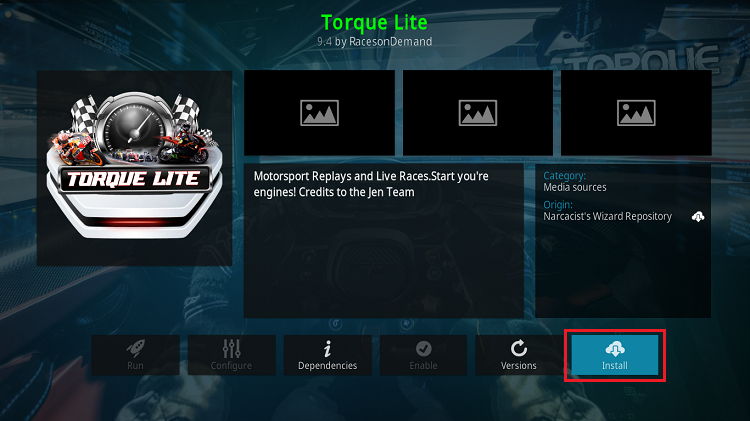
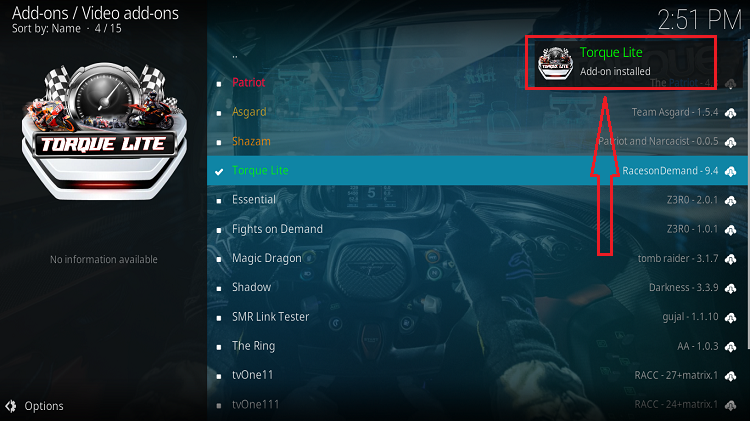
- Find the “Torque Lite” addon and click on it.

- Click on Install
- Click OK to install the additional addons needed for Torque Lite addon work smoothly.
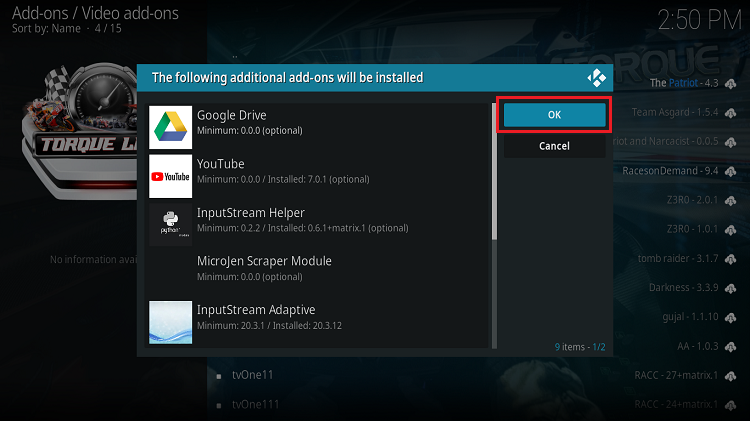
- In a few seconds, a popup message will inform you that Torque Lite addon is installed.
And that’s all for the installation of Torque Lite Kodi addon
To access your newly installed addon, return to the Kodi home screen. In the main menu on the left, scroll down and find the Add-ons option, under the Video Add-ons category, you should find Torque Lite addon
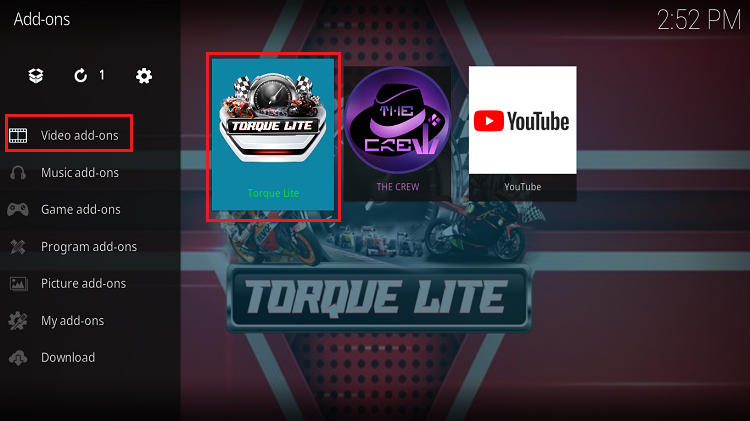
The Torque Lite Kodi addon opens and lists the different categories.
Under the “Live Zone” section, for example, you will find live sessions for MotoGP, Formula1, Supercars and Superbikes.