In a previous post, we have seen a complete tutorial on how to add an IPTV M3u playlist to Kodi 19 Matrix via the PVR IPTV simple client addon.
With this, we are taking full advantage of Kodi’s ability to play any multimedia content, both video with different types of formats as well as images. Not only that but also of the great enhancements that came with Kodi19 with respect to the PVR function.
This post will show you how to add another format of IPTV to Kodi 19. It is called StbEmu codes. For this, we are going to use a PVR client add-on from the official Kodi add-on repository.
How to setup StbEmu codes on Kodi 19 Matrix
In this comprehensive guide, we explain how to configure StebEmu codes on Kodi 19 Matrix and set it up completely.
Read more: Install and setup the StbEmu Pro app
This guide was realized on Kodi 19 Matrix, the latest stable version of Kodi, and applies to all compatible devices including Amazon Firestick, Fire TV, Mi TV Stick, Android & IOS, Mac, Android TV, Android Boxes, etc…
Install Stalker Client add-on
Our first move here will be to install a necessary tool called Stalker Client. To do so:
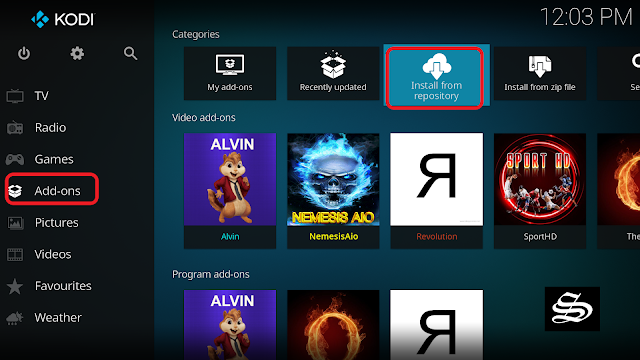
From the add-ons tab, go to Install from repository
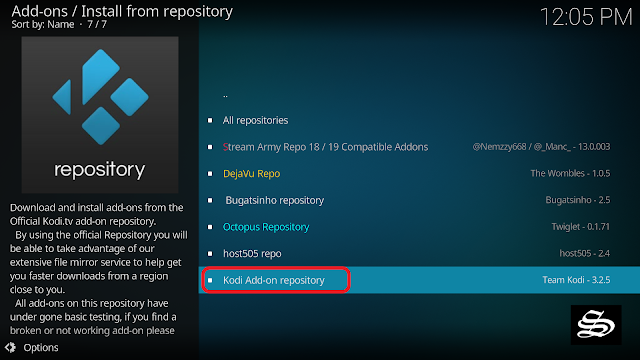
Enter Kodi add-ons repository
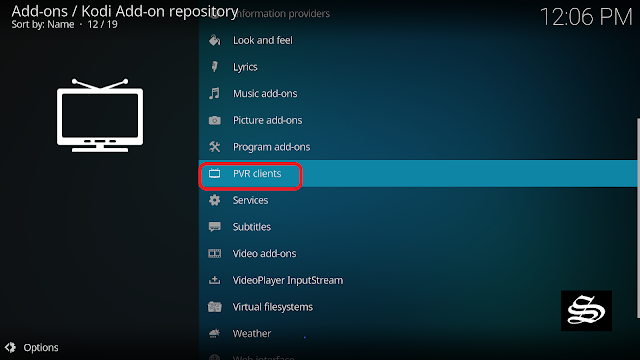
In the next window, scroll down the list of option till you find PVR Clients
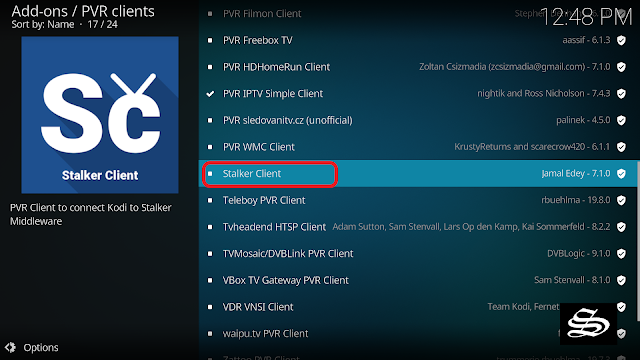
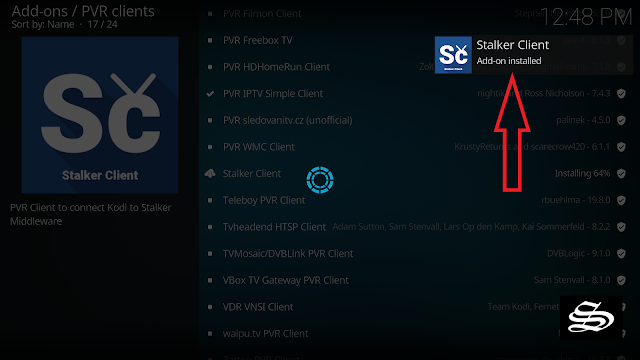
Again, scroll down the list and find the most wanted Stalker Client add-on
Now, click Install
In few seconds, a notification will appear on the top right of the panel to confirm the end of the installation
Configure Stalker Client.
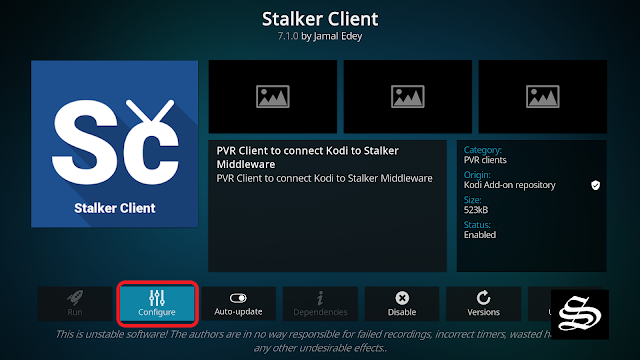
Stay on the same panel and click on Stalker Client to enter it.
Click on Configure
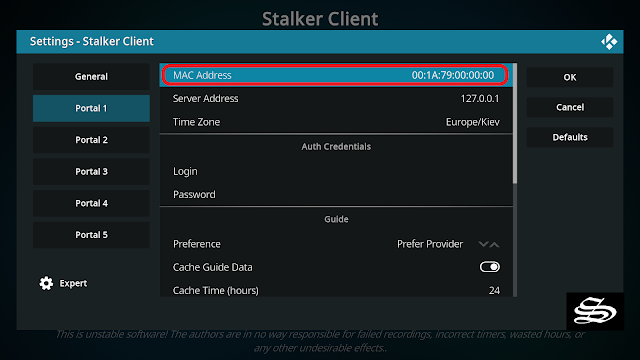
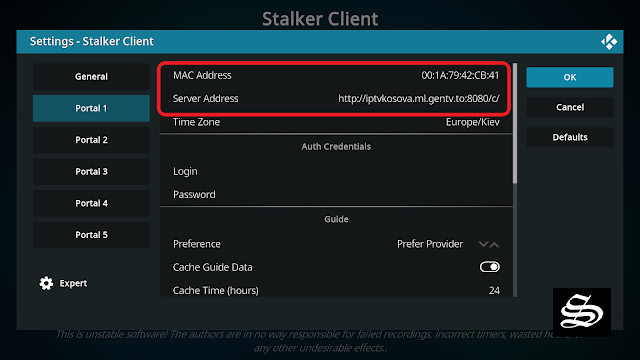
Under General tab, choose a portal and edit the credentials.
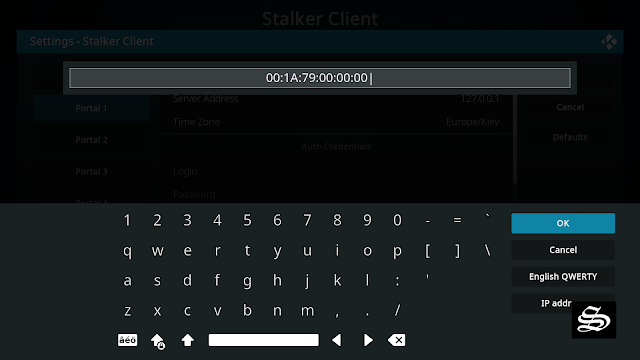
First, enter the MAC address of the StbEmu server and click OK
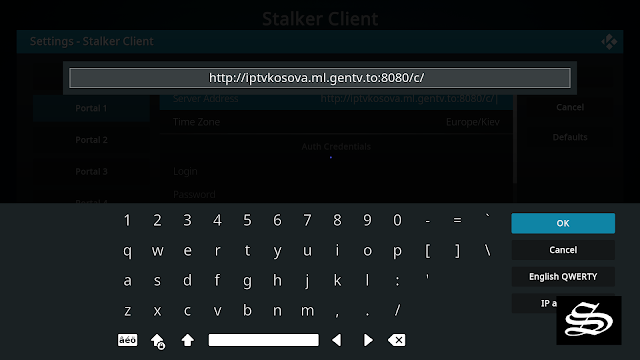
Second, Edit the Server address, Put in the Portal URL of the StbEmu server, and click OK
Once the configuration is finished, click OK
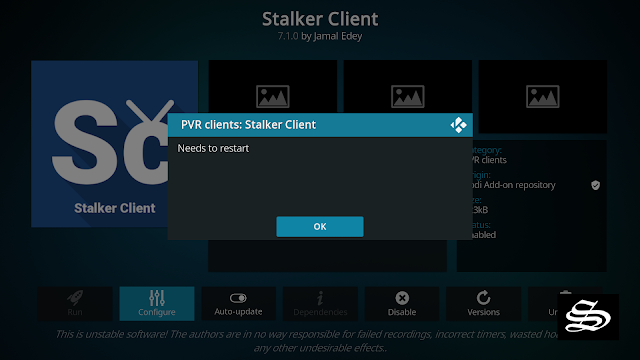
For the configuration to take effect, Kodi needs to restart.
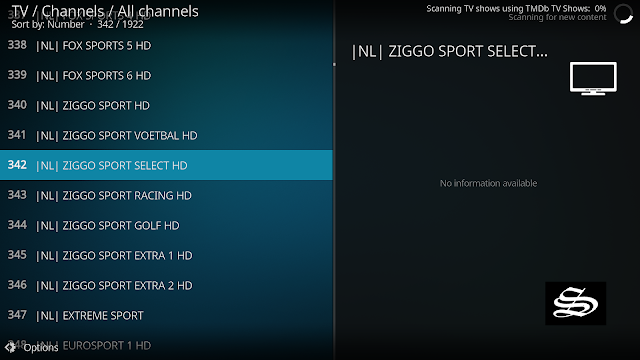
Once restarted, you will notice that the PVR manager will load the channels from to path you provided for it. It will take few minutes to finish depending on the weight of the server and the performance of your device of course.
Once finished, you can easily access the list of channels from the TV tab on the main screen.
Manage Groups and Channels
Kodi PVR manager gives you even the possibility to manage your channels and groups and customize your environment the way that suits you.
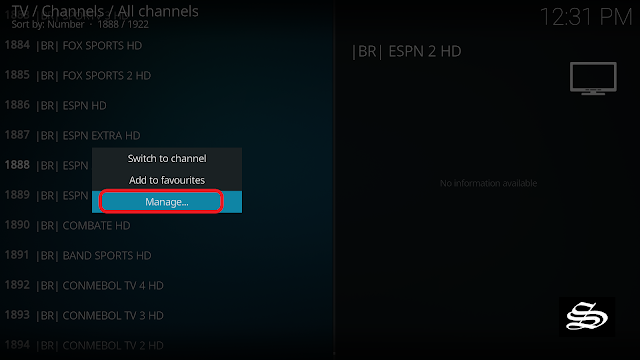
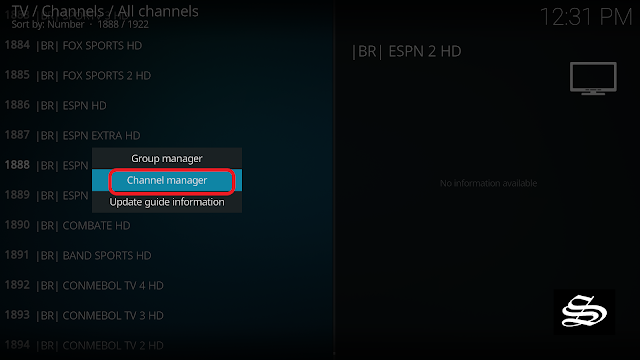
Select any channels you want, press and hold the ok button if you are using a remote, or double click for PC. A small box with options will appear. Select Channel manager
It will lead you to the next window where you have many possibilities. You can change the channel’s name, icon, and more.
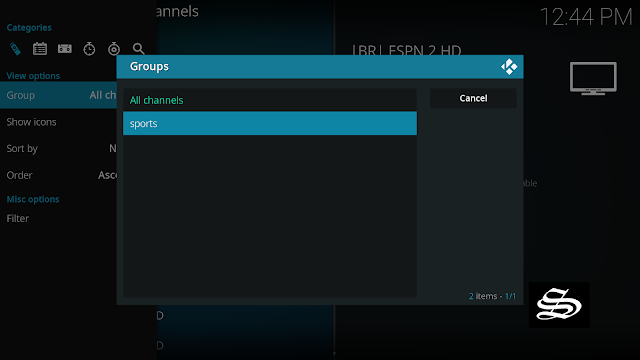
Create and Manage Groups
If your list doesn’t come pre-organized in groups or you simply want to create groups of your favorite channels you can do that in simple few steps.
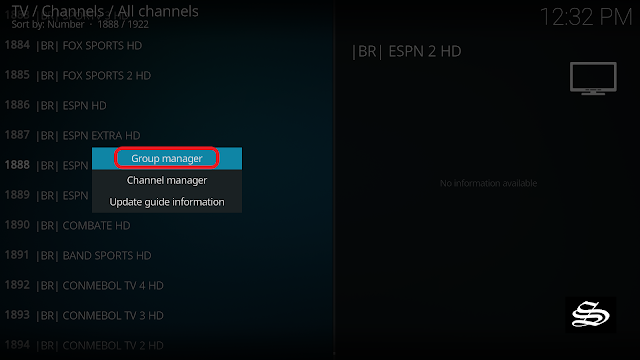
Select Group manager
Select, Add group
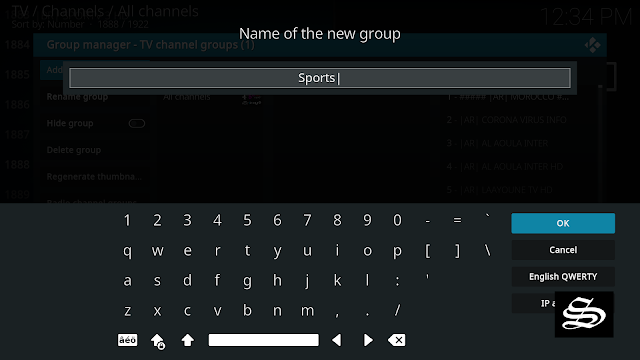
Give it a name. We named it Sports
Now from the Ungrouped channels box select the ones you want to add to the new group. You will see them appear immediately in the new box
Once finished, click OK
And with this, you have just added, configured, and managed your IPTV list to watch LIVE Channels on Kodi.
In case you want to modify this list or replace it, the path is very simple:
- Open your Kodi and select add-ons.
- Select My add-ons.
- Select the category as PVR clients.
- Select Stalker client.
- Now select Configure to add/delete/replace your StbEmu code
Depending on your location, some of the channels may not work for you.
To access geo-restricted content, we strongly recommend that you use a VPN. By using a VPN, you can access any channel and protect your identity.


